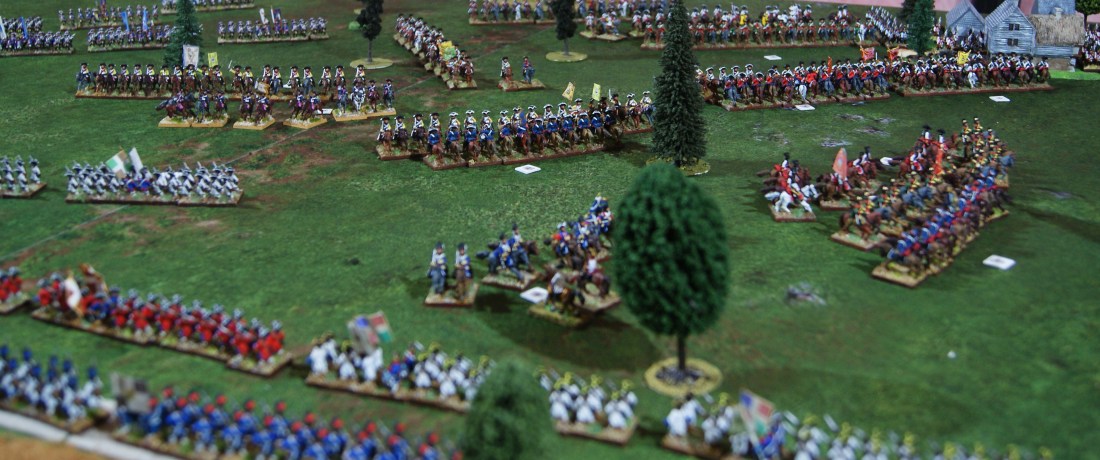
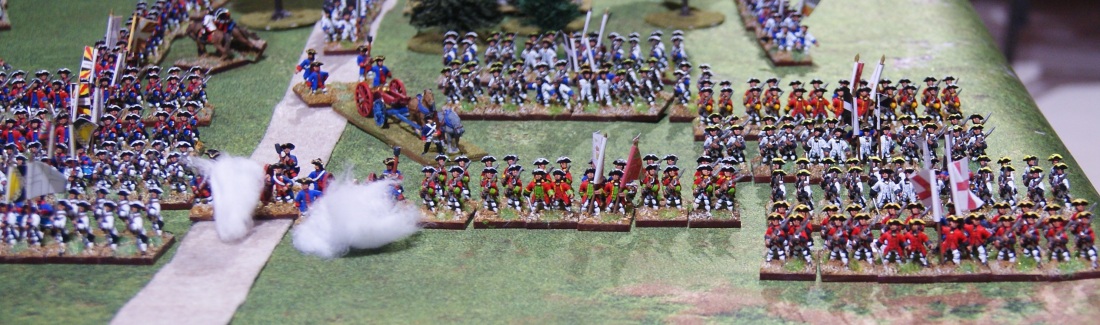
The French are marching hell-bent for the Rupel crossing. They are in their customary march formation, with artillery and grenadiers on the road, infantry on either side, and cavalry on the outside from which the enemy may be expected.
The crossing is coming in sight. Have they made it? Just when they thing they’re home-free, a slight dust cloud is seen, and the dark shapes of marching soldiers can be distinguished, crossing their path. Looks as if someone has got there before them.
d’Hautville, the cavalry commander, sends off a messenger to prepare the cavalry for battle. Marsin spurs forward for a better look.
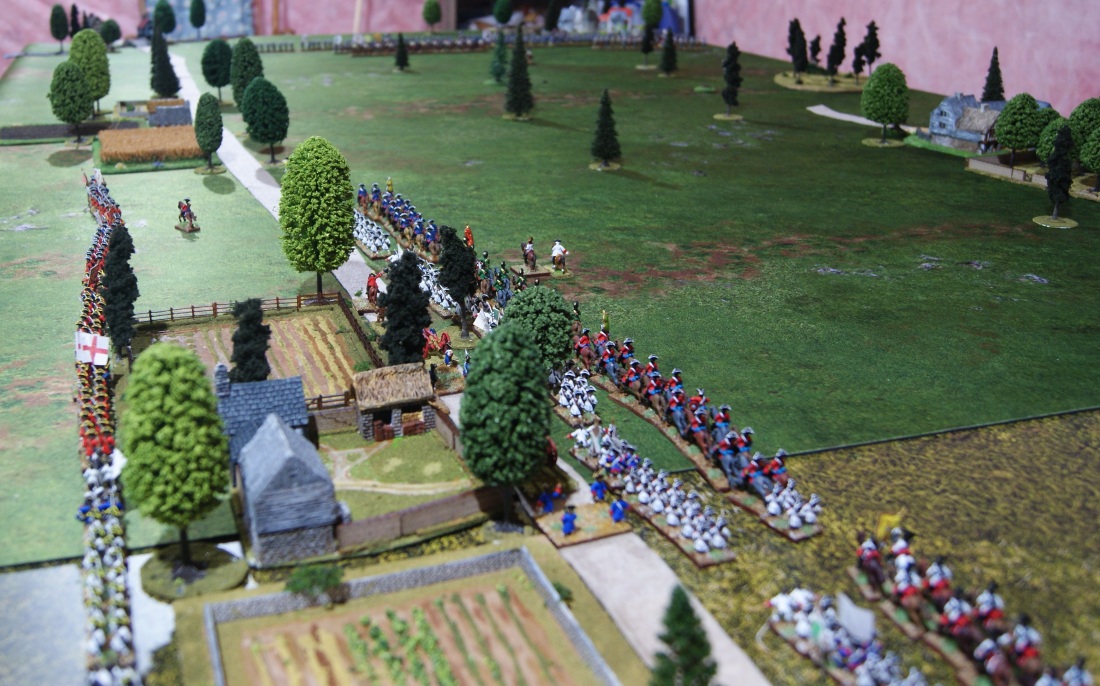
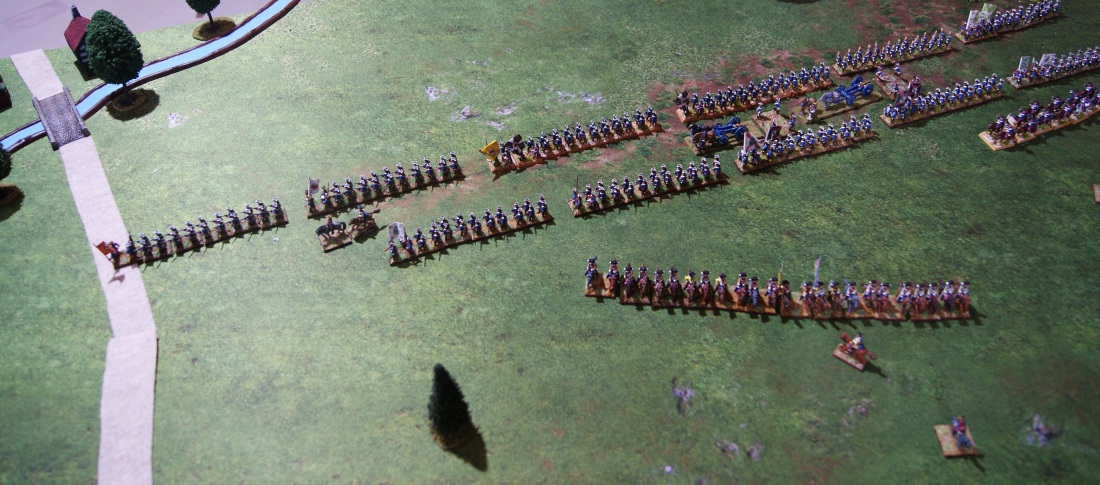
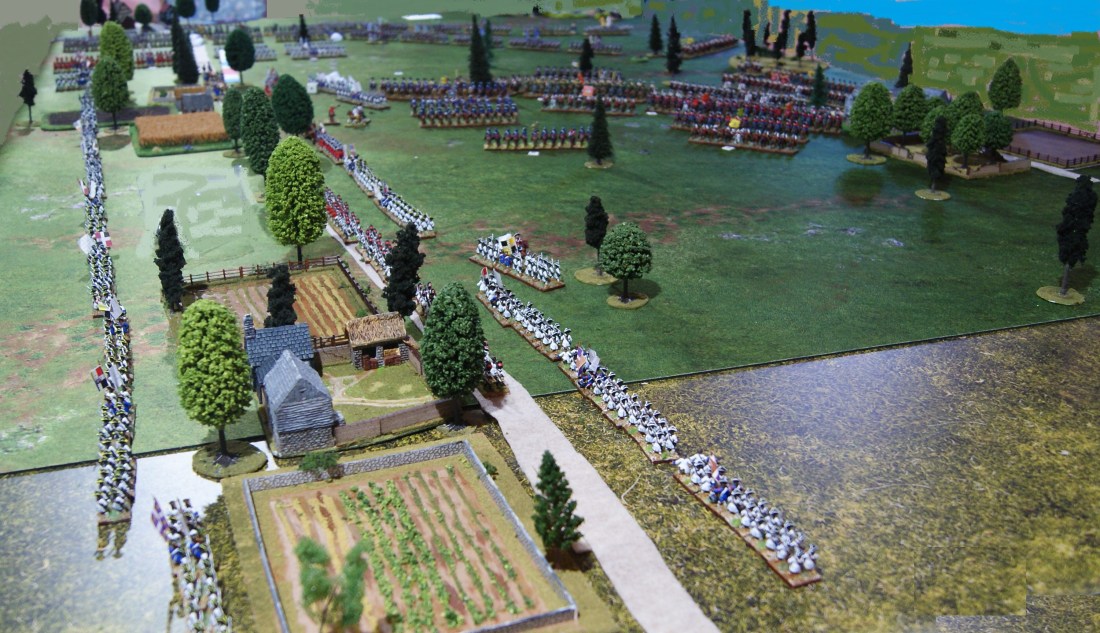
The French forces, streaming toward the Rupel crossing and safety. Faintly in the upper just right of center is the village of Alost. The dark streak in front of the village is the vanguard of the Prussians. In the upper left corner is that important crossing.The sleepy little village of Alost. After two sieges and two battles in the vicinity, you can well imagine that it is pretty much deserted by now.
06:30
It’s the Prussians, who have just barely made it there before the French. Their arrival is somewhat staggered; the Winterfeldt Regiment, the senior regiment in the Prussian Army, has been setting a wicked pace to make sure everyone knows they are the best.
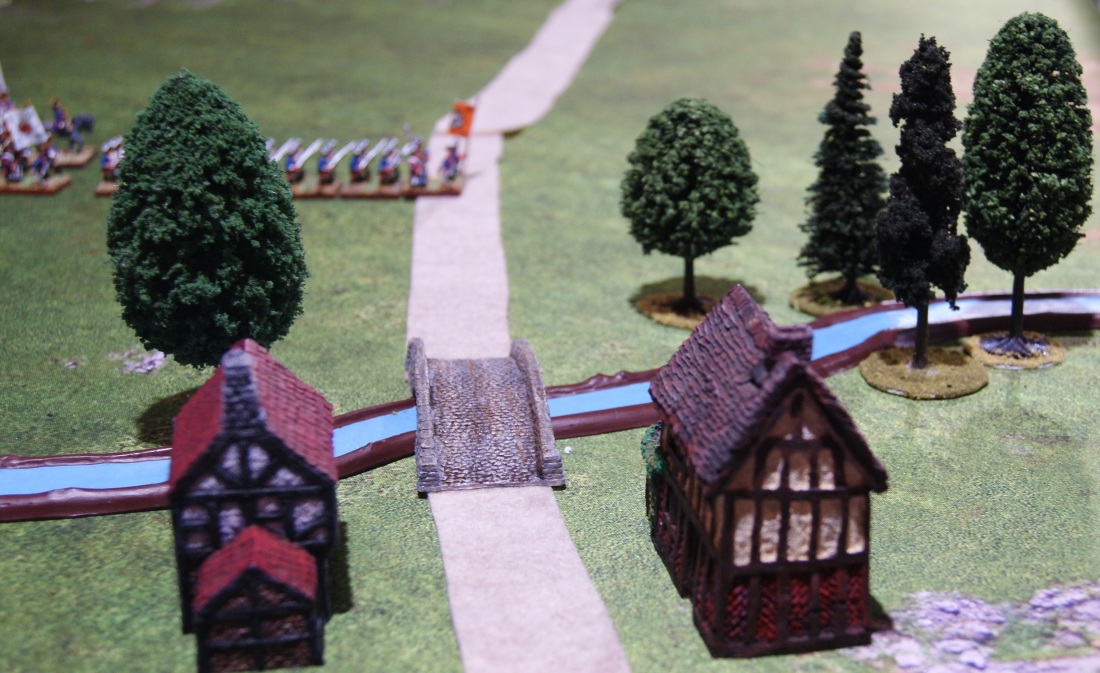
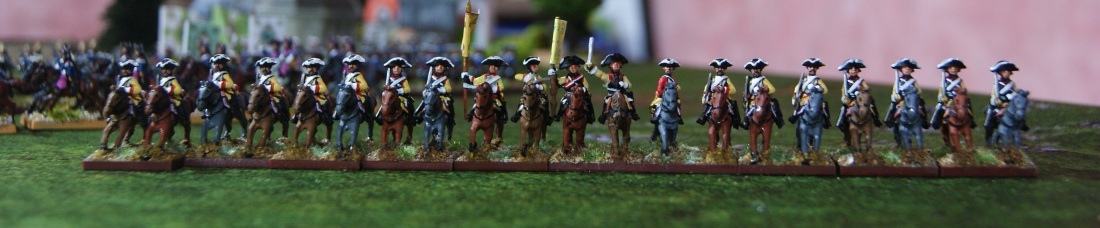
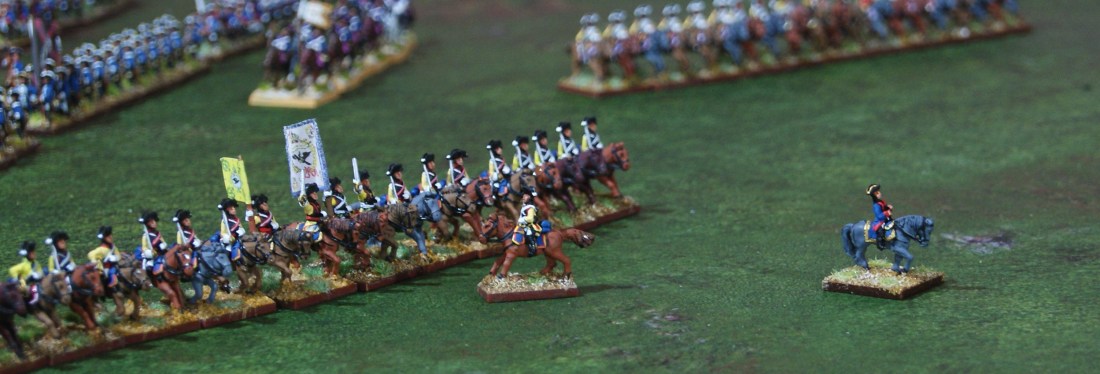
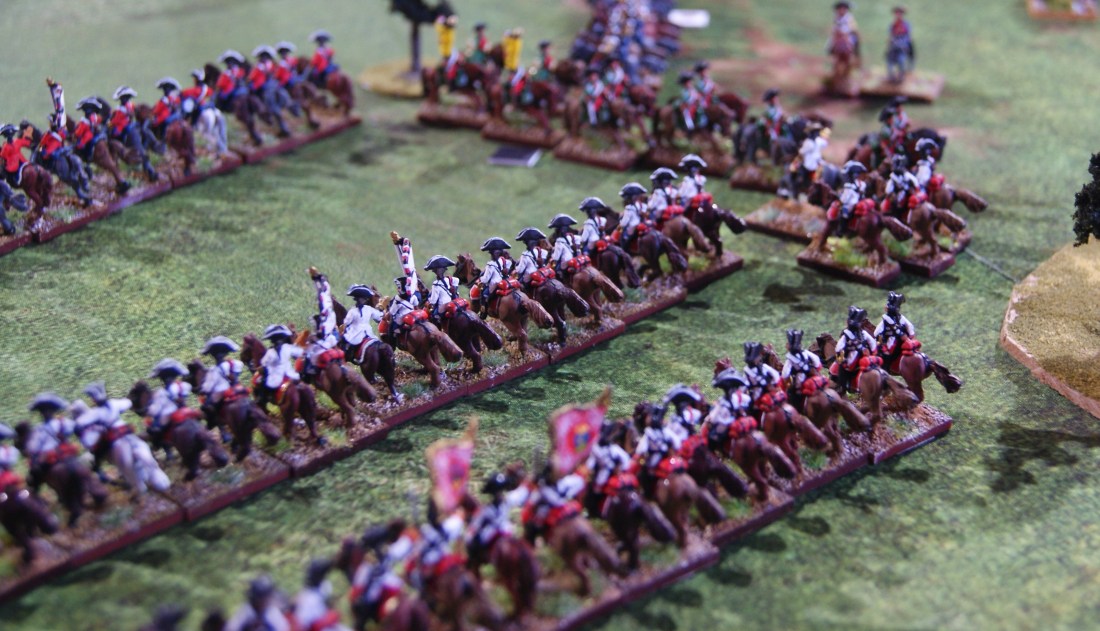
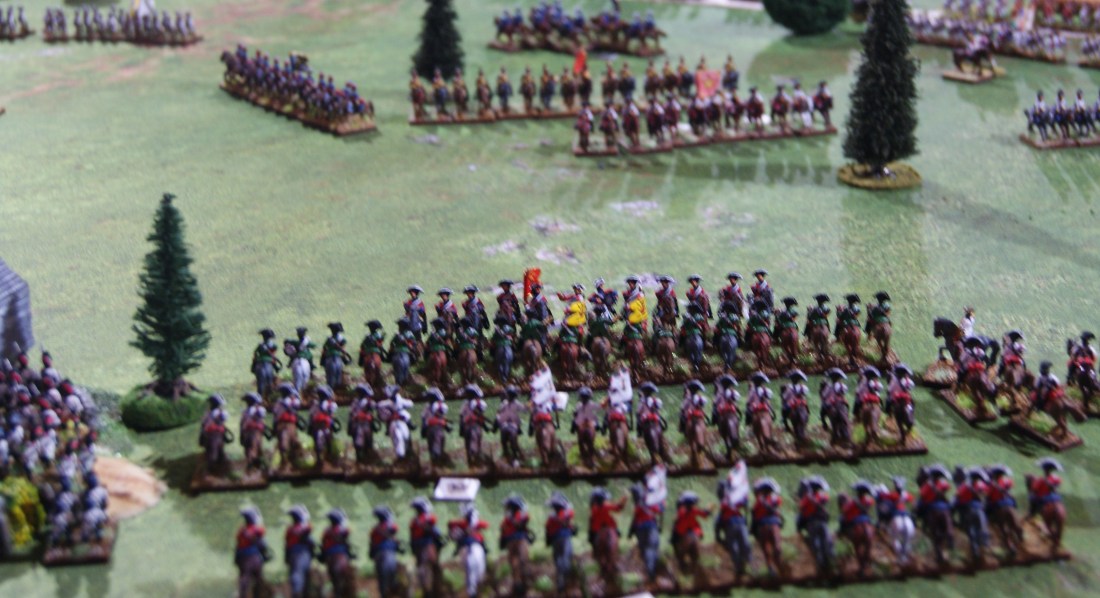
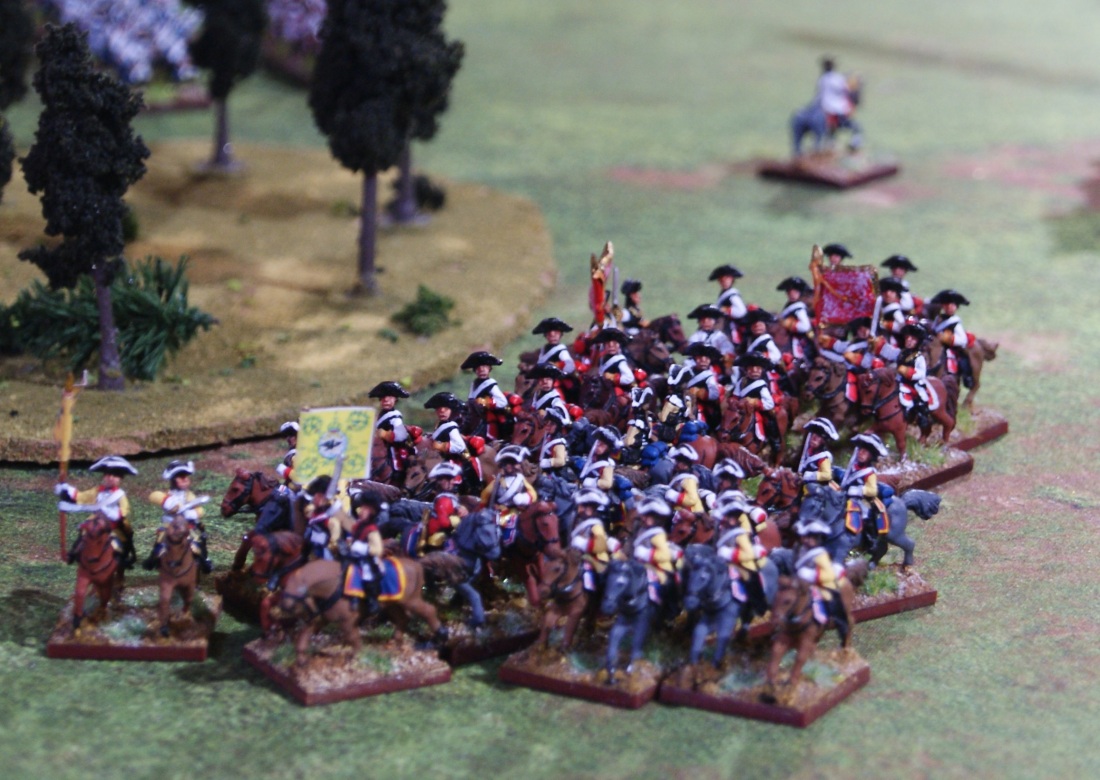
The Prussian Army, leaving the main road through Alost to cut the path of the oncoming enemy. The French are well to the right of this picture.The vital bridge over the Rupel River, with the head of the Prussian column just arriving in the background.Enemy in sight! The Prussian Gens d’Armes Kurassier forming up to oppose the French.An overhead view of the Prussians arriving across the road to the crossing, with the bridge in the upper left corner.The Prussian cavalry commander, General d’Ettienne, is riding forward to get a better view of the enemy. He has sent his aide de campe to alert the Garde du Korps, who look as if they don’t need alerting. They’re ready!
07:30
As the French continue to advance, deploying their cavalry on the right, two French generals meet.
Marsin meets General d’Hautville of the cavalry. “Don’t worry. It’s only the Prussians. We outnumber them greatly.” In the background, La Reine infantry regiment advances to the encounter.
08:00
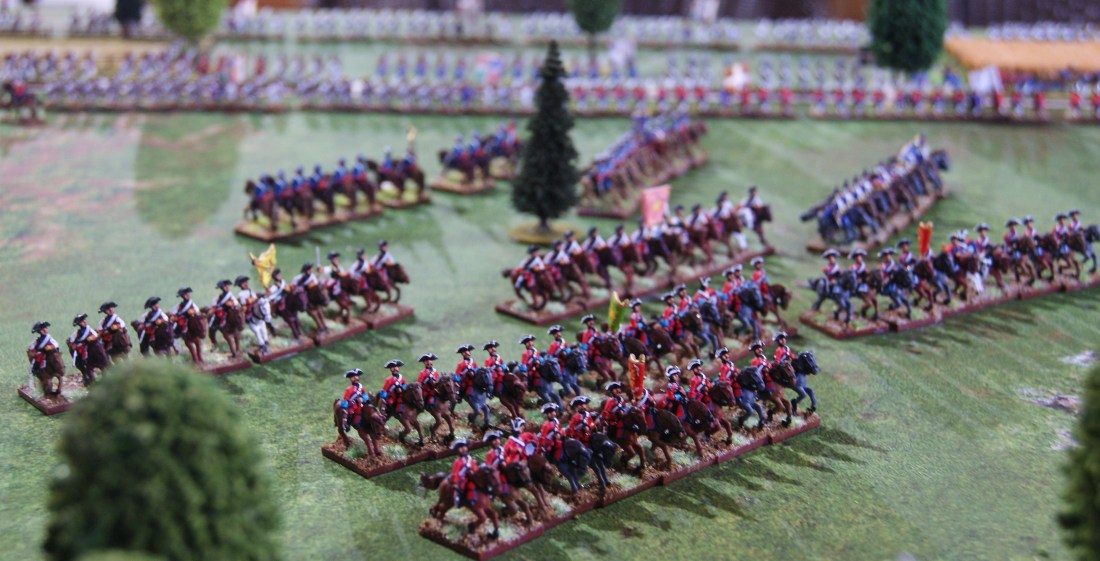
The Prussian cavalry and the French dragoons come together with a crash. Each is trying to protect the deployment of their infantry.
From the French point of view, their three dragoon regiments charge into two regiments of Prussian cuirassiers supported by three squadrons of dragoons. On the right, the French cuirassiers deploy to counter the Austrian dragoons that threaten the flank of the great horsie melee.The Austrian Jung-Lowenstein Cheveaux-Legers deploy on the left flank of the Prussian cavalry with supports coming up behind them and French forming up in front.
08:15
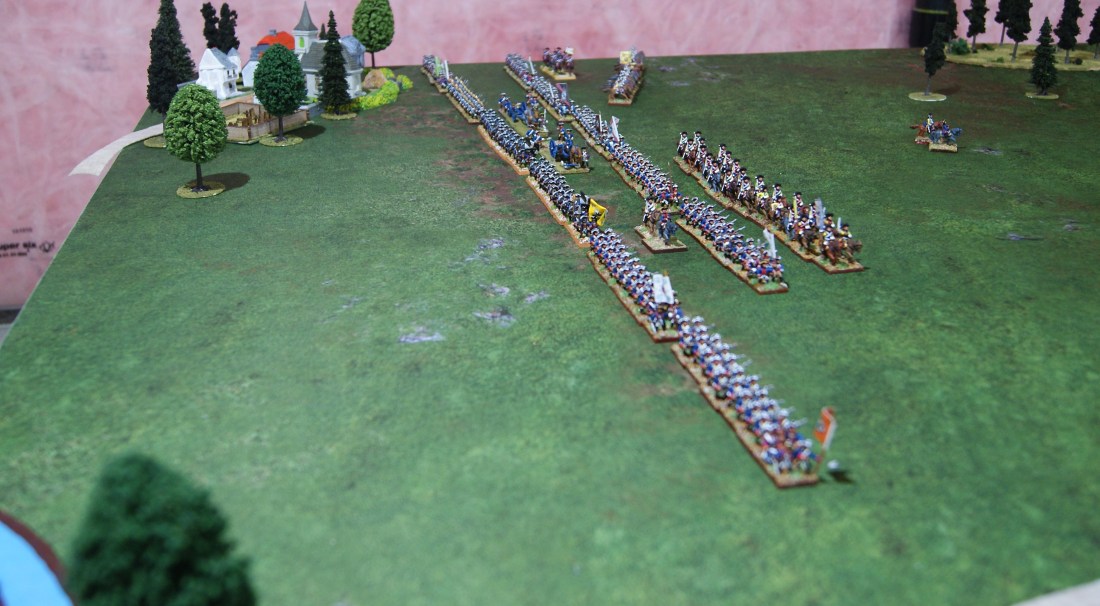
As the French infantry move up and their leading elements form up for battle, their cavalry protects their flank against the Alliance cavalry.
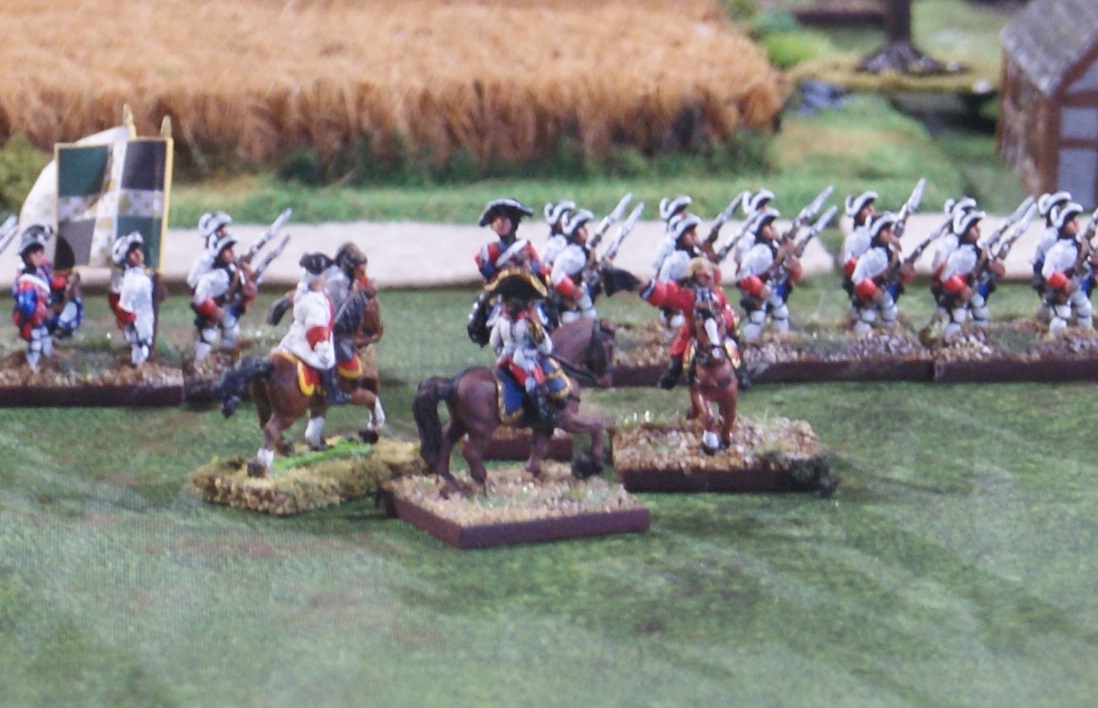
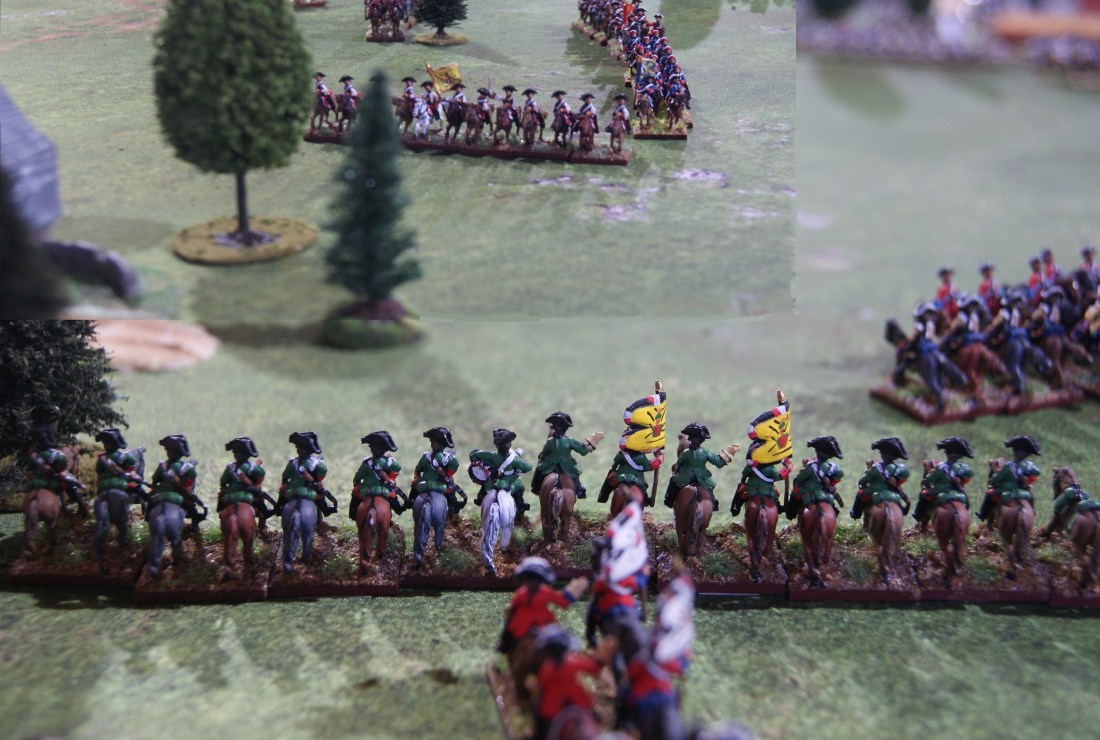
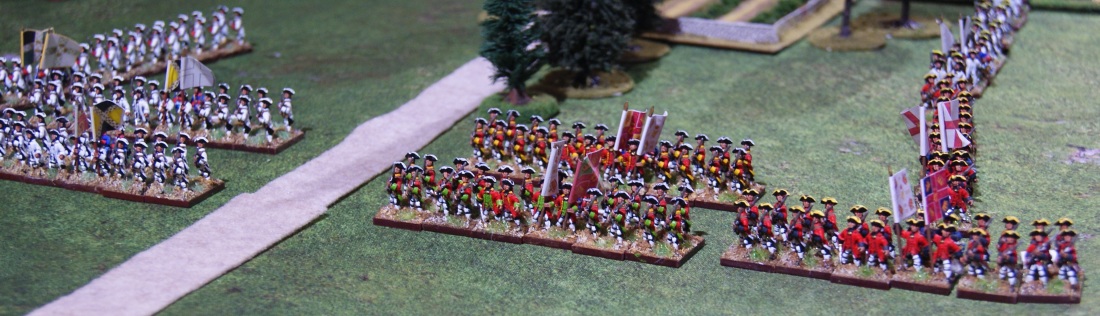
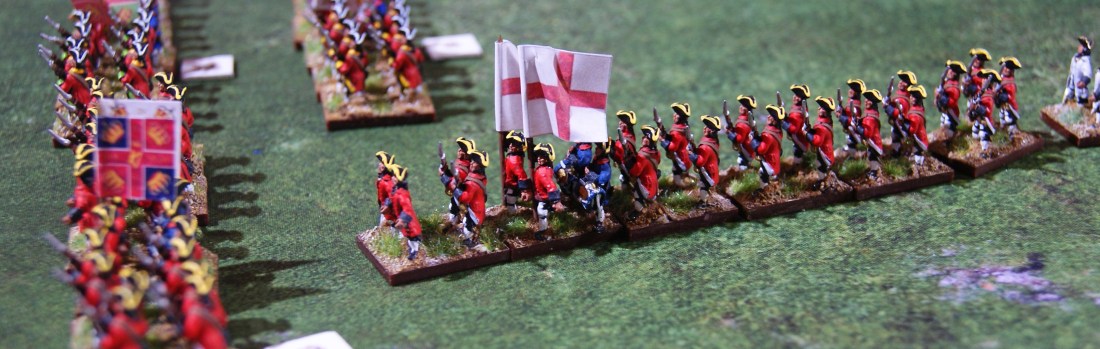
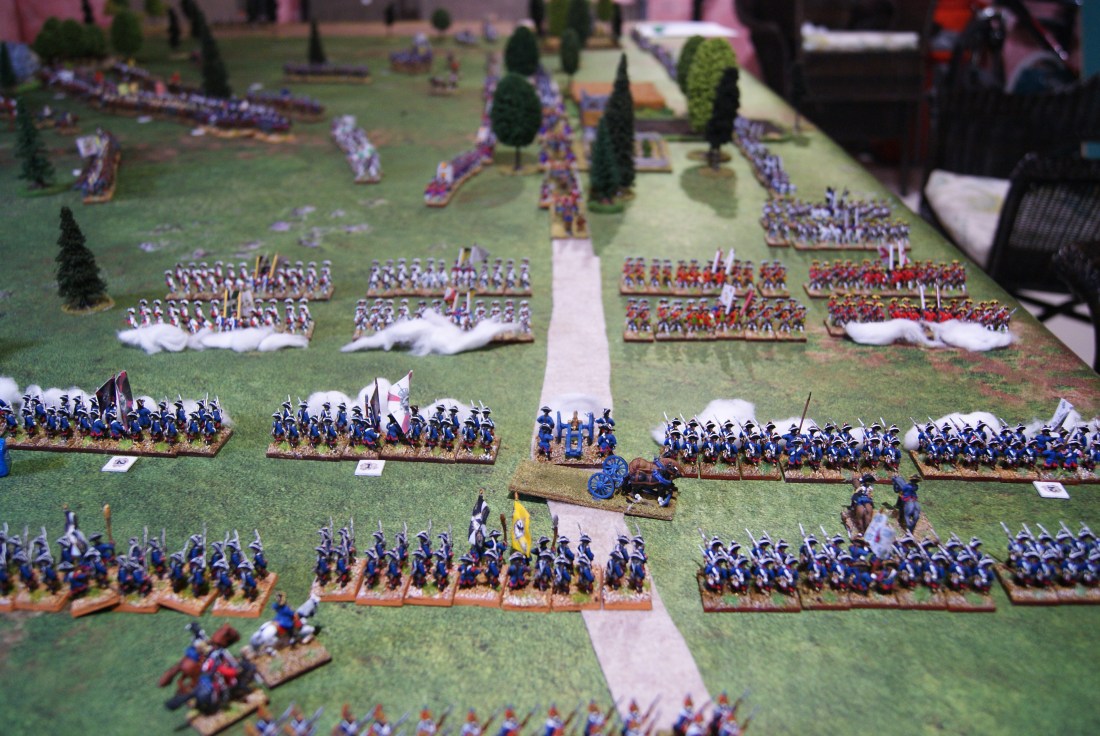
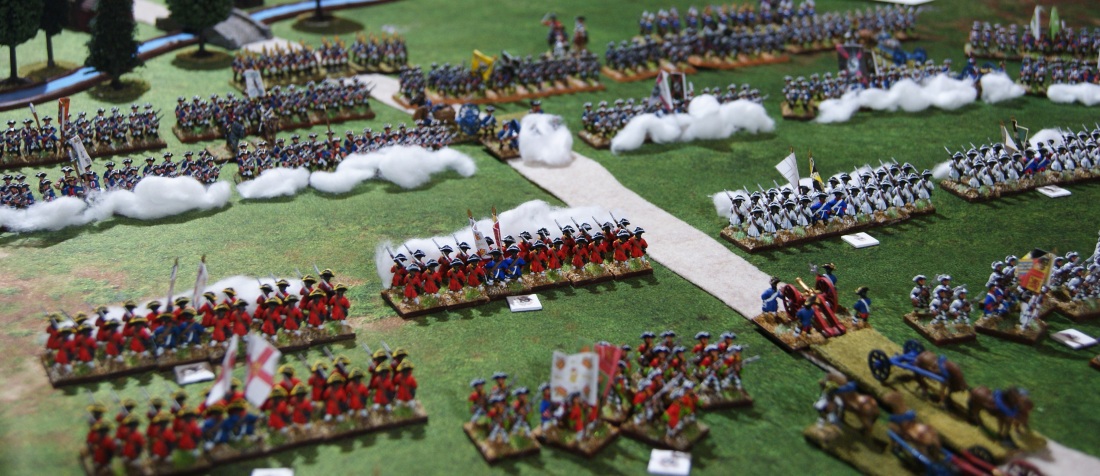
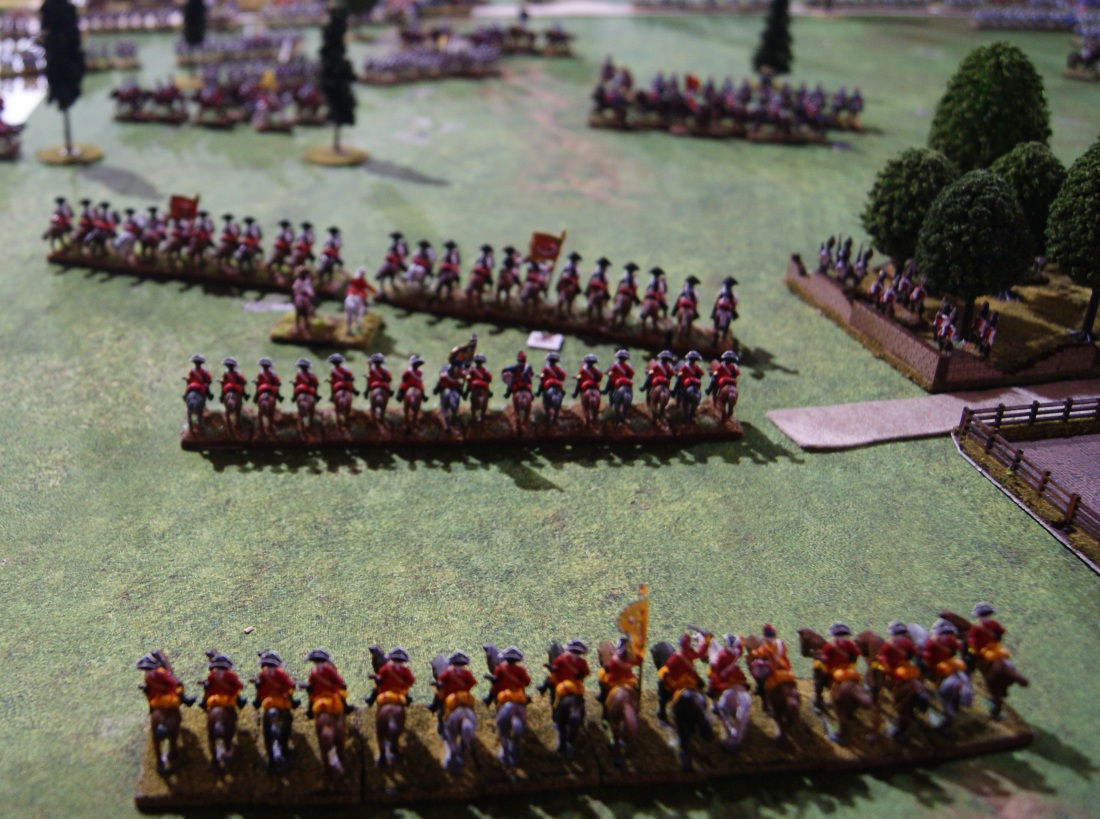
In a cavalry battle involving several regiments on each side, only the French Schomberg Dragoons – the rearguard heroes at the Battle of Stevenswaert – hold the field. The Schomberg are in the center of the picture facing you, with the Gens d’Armes retiring in front of them. However the Prussian Gardes du Korps (right edge) are still threatening them. The Irish Brigade in their bright red form up under artillery fire for an assault on the Prussian lines. To their right, the La Reine brigade forms to support them. “Where’s them English?” asks Colonel O’Reilly as he watches his troops deploy for battle. “You promised us some English. You show me some English to fight, me boyos will tear right into them.”The Rooth regiment arrives to fill out the Irish Brigade. With their red uniforms and very English-looking standards, it is surprising they are not more often mistaken for British troops on the battlefield.
08:30
The French infantry prepares for its first assault while the two sides of massed cavalry break apart in the middle for a quick breather.
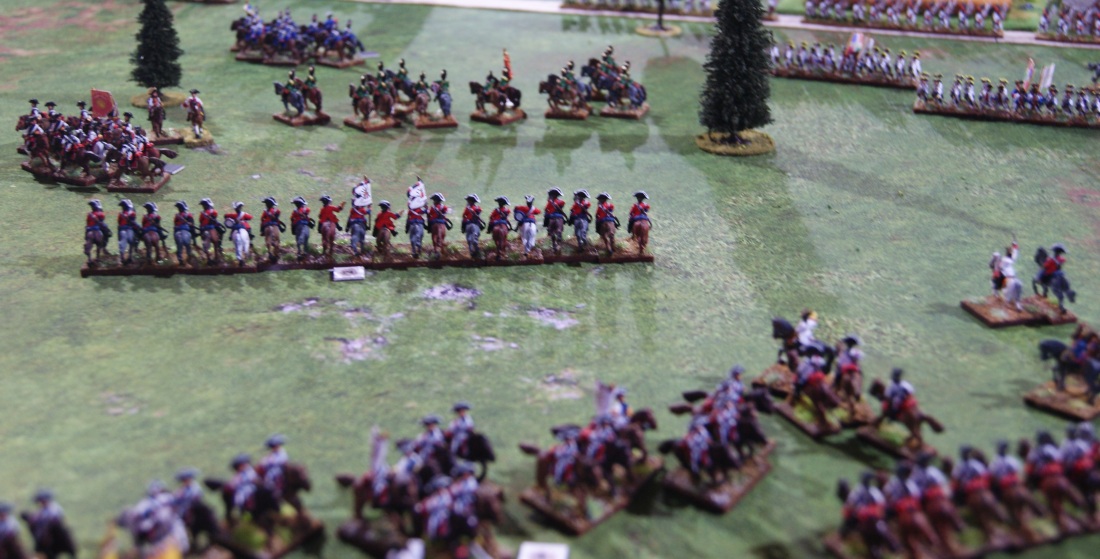
More Austrian cavalry sweeps onto the field while the Austrian commander (upper right) tries to rally the Jung-Lowenstein Cheveaux-Legers.The French cavalry also take a breather to organize. (Behind them, top of the picture, the marching French infantry.)The Irish Brigade (right) and the La Reine Brigade are ready to attack. “Brigade will advance!”
08:45
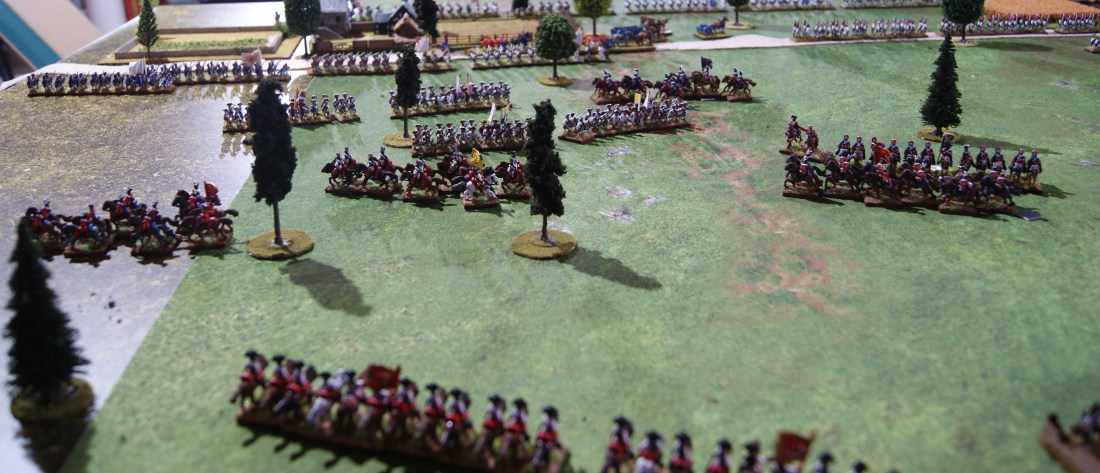
Attention is drawn to the middle of the battlefield where Prussian, Austrian and French cavalry mix it up in a swirling melee, with more units being drawn in as they arrive.
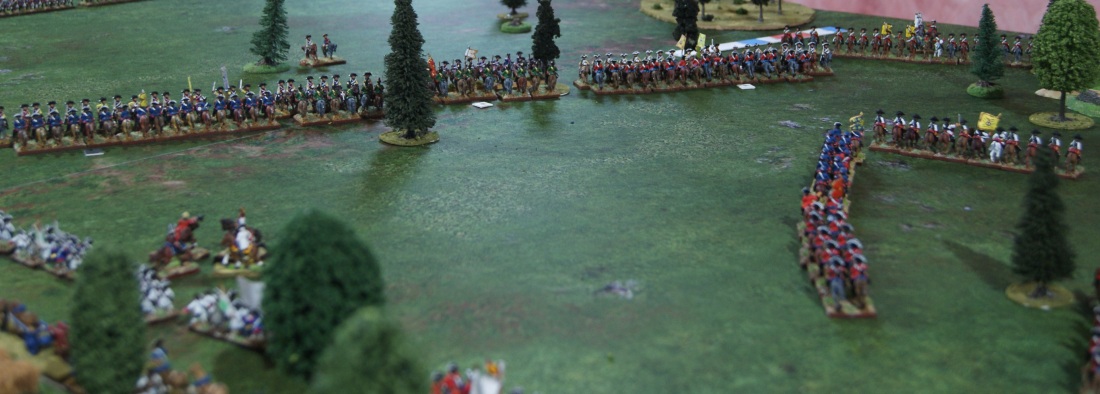
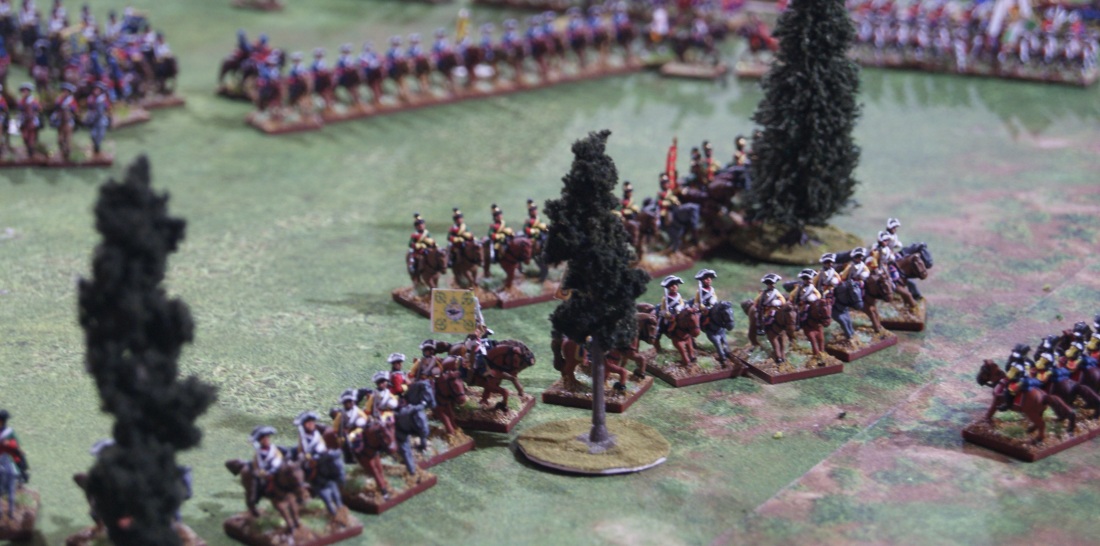
From behind the Austrian arrival area the cavalry battle can be seen. In the background French infantry are marching from left to right to confront the Prussian infantry and reach the bridge. In the lower right corner Austrian converged grenadier battalions can be glimpsed sneaking into the local farmstead.An overall view of the situation. The French infantry are streaming in past the current point of view. At the very top of the picture can be seen their target, the Prussian infantry blocking force. To the upper middle and right is another view of the cavalry battle.
09:00
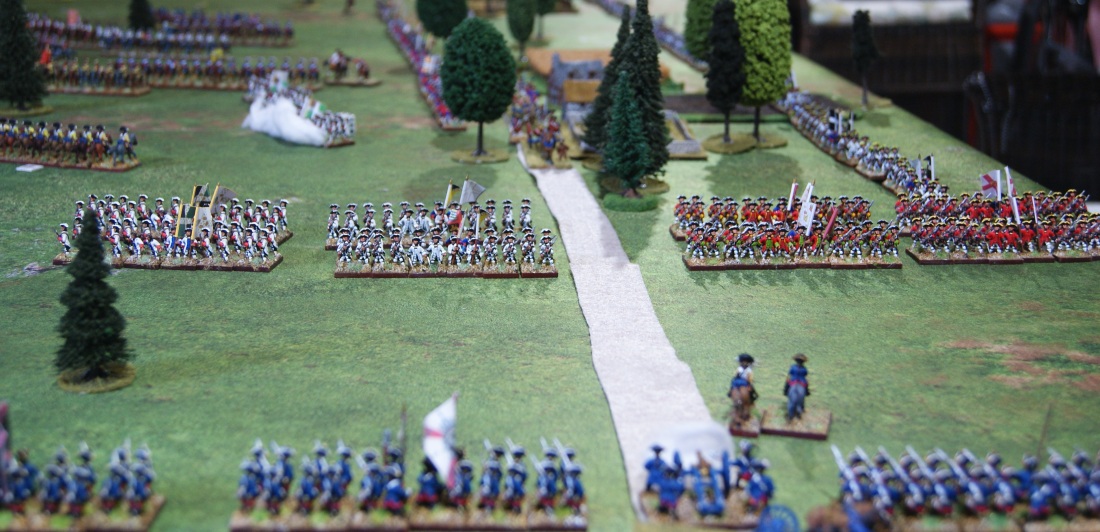
The Irish and La Reine brigades move into range and open fire. At the same time the cavalry battle continues.
The Irish Brigade and the La Reine Brigade move into range and open fire. The Prussian initial resistance is good. The Bulkley Regiment doesn’t even get off a shot before it is devastated by musket balls and cannister.The cavalry continue to go at it as tired regiments fall back and fresh ones charge forward.Just to complicate things for the French, the Hodenberg Kurassiers herald the arrival of the Hannoverian contingent on the flank of the Austrians.
09:15
In the center of the battlefield things are starting to go badly for the French cavalry. Several regiments have had enough and are leaving the field. As more Alliance cavalry enter the list the French are becoming stretched thinner and thinner.
The infantry at the head of their attack are not doing too well either, but help is at hand.
The cavalry battle continues, while the French infantry streaming past ignore it.The Irish and La Reine are not doing too well, but finally the artillery is arriving.
09:30
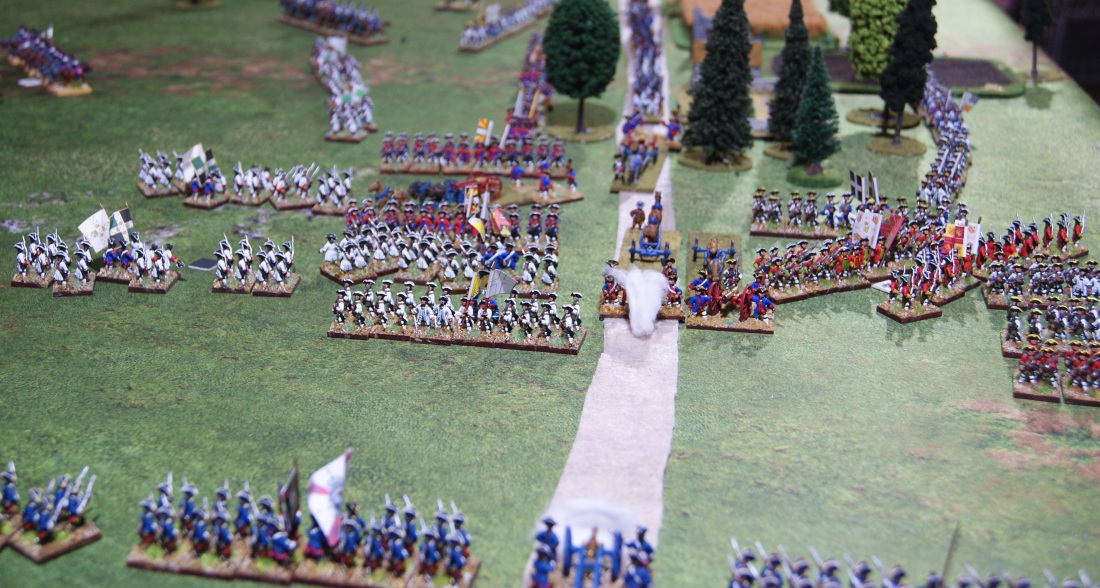
The French cavalry is really taking a battering as more and more regiments leave the field. The French infantry draws back after its first aborted attack to reorganize and allow the artillery to deploy.
The French infantry draws back out of musket range while their artillery deploys.La Reine Cuirassiers make one last charge in a desperate attempt to hold back the Alliance cavalry tidal wave, to no avail.
09:45
With the French infantry attack stymied for the now and their cavalry fading away, things are not looking so good for them.
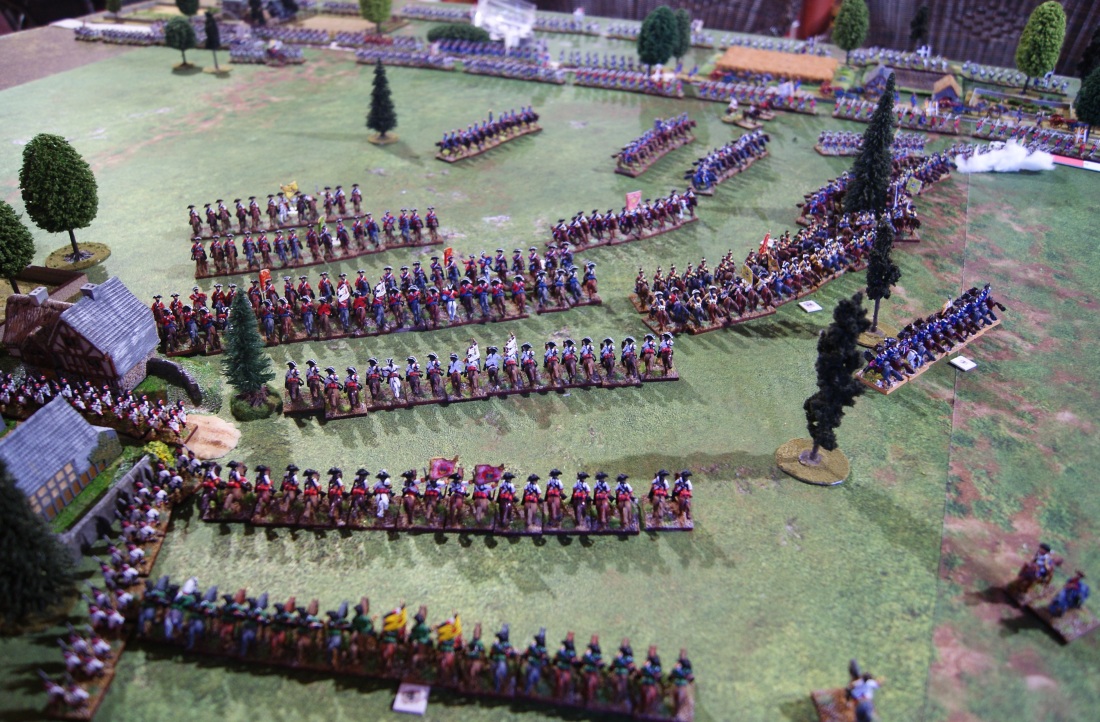
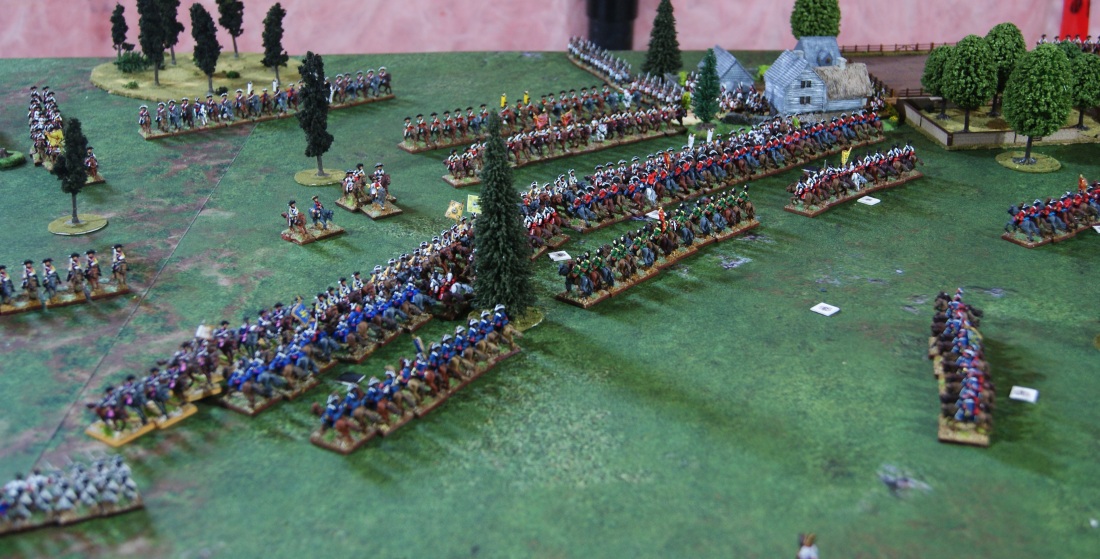
The departing French cavalry (streaming right to left across the center) is hampering the ability of their infantry and remaining cavalry to deploy to meet the growing Anglo-Hannoverian threat.The Alliance cavalry are not having things their own way. Here a mass of Alliance Kurassiers (Austrian and Prussian mixed together) are fleeing the fight.The far threat grows. More English cavalry are coming up behind the Hannoverians.Behind the Austrian cavalry, the Austrian infantry is marching on like they’re in a parage-ground manoeuvre.The French are organizing what might become their last attempt to break out.
10:00
The second French infantry attack goes in, finally supported by some artillery. Meanwhile time may be running out as the French cavalry are fading away.
In the center of the picture the Jung-Lowenstein Cheveaux-Legers are pursuing the disordered Schomberg Dragoons. Toward the upper left two French cavalry units are leaving the battlefield post-haste. Along the bottom Alliance cavalry units are reorganizing after a heavy – but successful – fight.Five regiments of Anglo-Hannoverian cavalry are approaching the Royal-Etranger heavy cavalry regiment. Toward the upper left another French cavalry regiment is seen leaving the fray, blocking an infantry brigade’s attempt to deploy. To the right Austrian grenadiers have occupied a walled orchard.
I’d like to say a few words in introduction. My name is Gerald (Gerry) Upton, retired and living in Kitchener, Ontario, Canada.
I’ve been interested in military history ever since I can remember, and in wargaming since about 2 days after that point. Summers from about 5 years old on I went to our family cottage where a local friend and I were interested in ACW miniatures wargaming. This was mostly because the only inexpensive figurines were the Airfix ACW sets. They got combined with the Wagon Train, and the French Foreign Legion as Zouaves! Talk about sand tables! We played on the beach!
Somewhere in my early teens I discovered these “new” adult wargames from an obscure company called Avalon Hill. My first one was Blitzkrieg, which was just out. I found Midway in a department store and saved my pennies until I could get it. That one I still have; a bunged-out old box with the game and the Coral Sea and Leyte Gulf variants along with the Wargamer’s Guide.
One friend had Bismarck (’62.) Another had Battle of the Bulge. We used to get together – mostly at my place, it seemed – and play them. I bought Victory in the Pacific; that was my last one.
I bought a year’s subscription to the Avalon Hill General, starting with Vol. 1 #2. I found it was all about HOW TO WIN, WIN, WIN! And eventually threw them out. (Pity!) I bought some S&Ts when they started putting out games in them. First one was Chicago, Chicago and the Flight of the Goeben. I started into miniatures gaming, collecting and painting 25mm Napoleonics, but I didn't really have the space to play them. Then I discovered Jack Scruby's 9mm Napoleonics and started collecting and painting them.
Then into my 30s and 40s and things like work and family intruded and gaming friends went their own ways. I painted more 9mm Napoleonics, dreaming that some day I would get to use them. I eventually moved to the other side of the world and my games collection disappeared. Except for Midway and VitP, which I found in my parents’ basement. Plus all the 7,200 9mm Napoleonics.
As retirement approached I got re-interested in the Avalon Hill games, and decided I would like to design some of my own board wargames. As a preliminary I felt I had to figure out how to make quality counters and game boards. I made some replacements for AH game counters and decided to see if people would buy them. Well, that took off, and now I’m louiefourteen, a mainstay on eBay, designing and selling replacement counters for old board wargames.
I found that on the internet you can find all those games still around – used, of course. I started collecting all the ones I remembered from my youth. Then I started getting some of the ones I always wanted but didn’t have the chance to get. That list kept expanding. Now I have quite a good collection. Just not entirely sure what to do with them.
I wanted to get back into miniatures as well. I found I was more interested in the Seven Years War era; pity when you have all those Napoleonics, but, hey, tastes change. I started buying and painting Essex Seven Years War figures, but soon found that it was causing me problems with my spine. I still paint a little bit now and then, but mostly I have been purchasing my figures from a painting service. Luckily they use Essex Miniatures as well.
So now I have lots of SYW miniatures, and I've been reading about Marlborough and the War of the Spanish Succession. Having studied several different viewpoints of this age, I've always wondered what a wargamer might do if he has these opportunities. So now I am trying to go back 300 years, and take my little pewter figures back 50 or so. Anachronistic!
View all posts by anachronisticwarmonger