The Duc d’Orleans has 5 strength points to Marlborough’s seven. Thus Marlborough gets 40% more troops that does the Duc. So if we put my existing French army into it, that’s 8 battalions for 200 points plus 5 cavalry regiments for 150 points and artillery for 40 points brings us basically up to 400 points (actually 376.) Thus Marlborough is allowed 526 points.
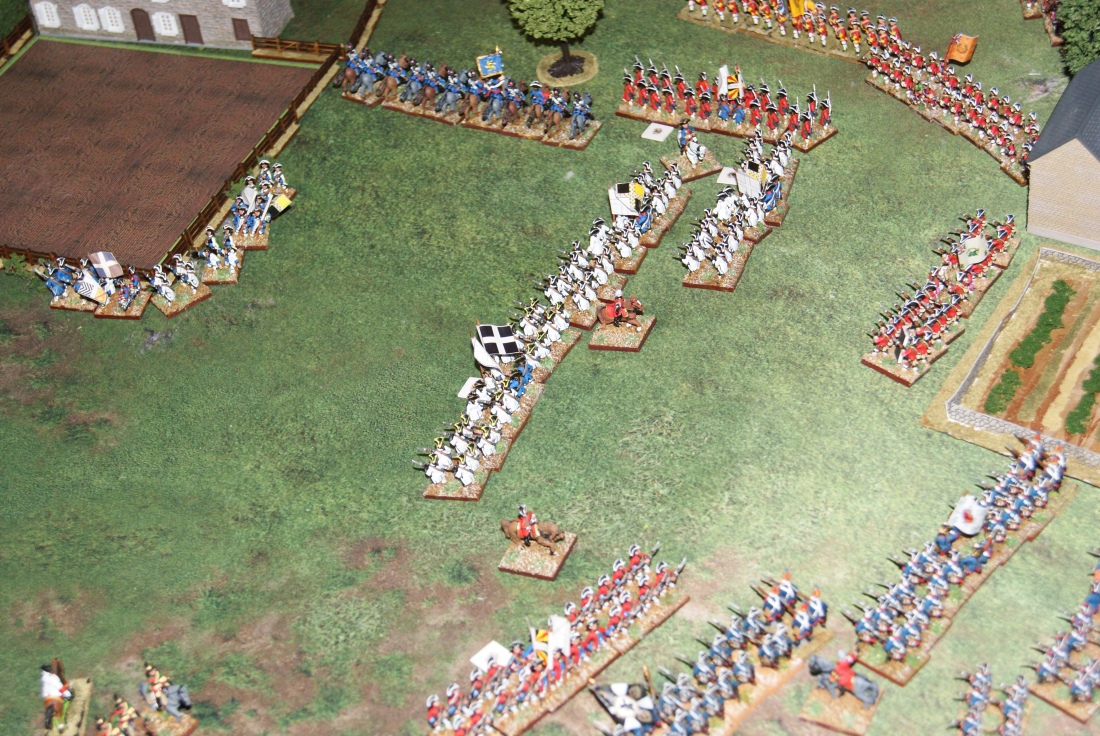
The battlefield is laid out with three hills on the French side for them to defend (They occupy two,) as well as a block of woods on their left flank, and an (understood) woods on their right flank. Terrain is laid out by random roll of dice, giving the French a farmhouse and barn with an orchard and small walled field to defend right in the middle of their line.
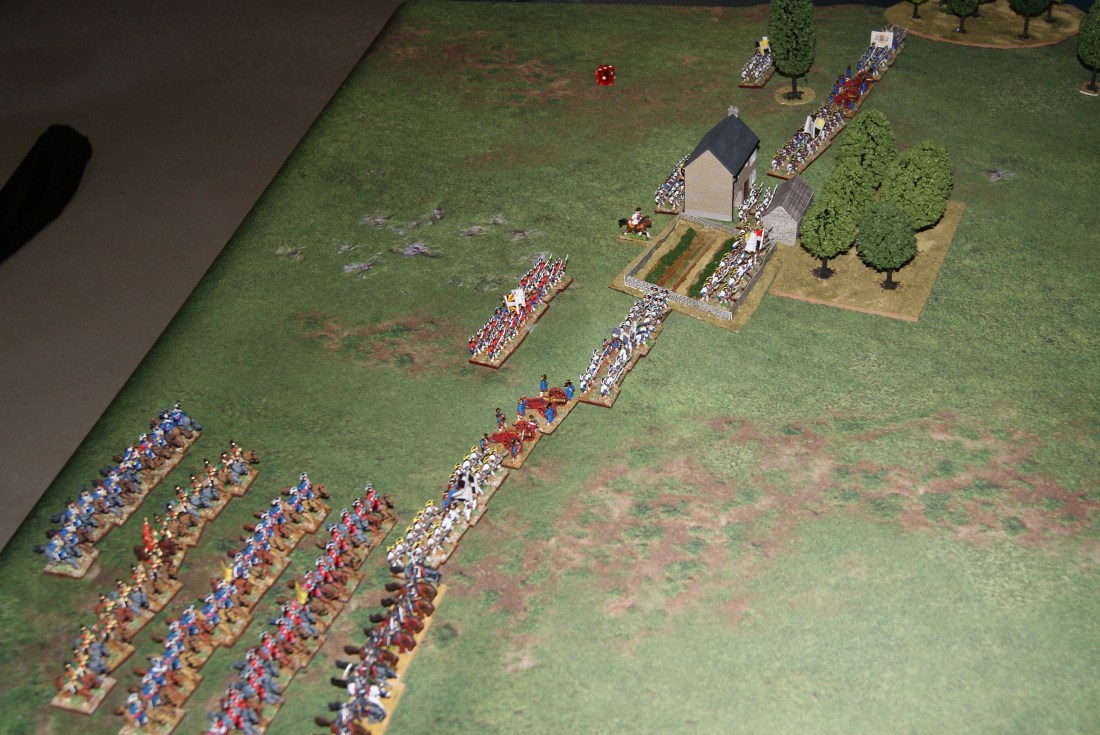
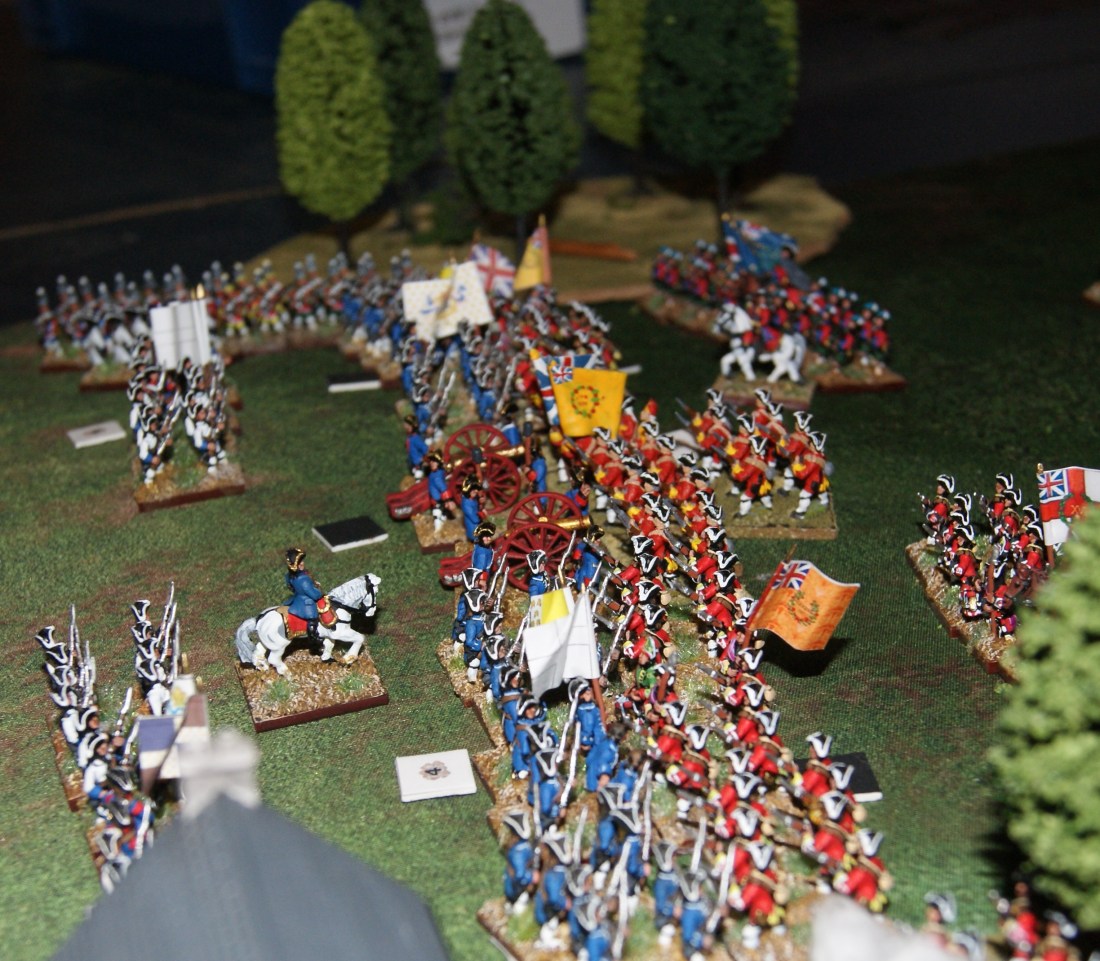
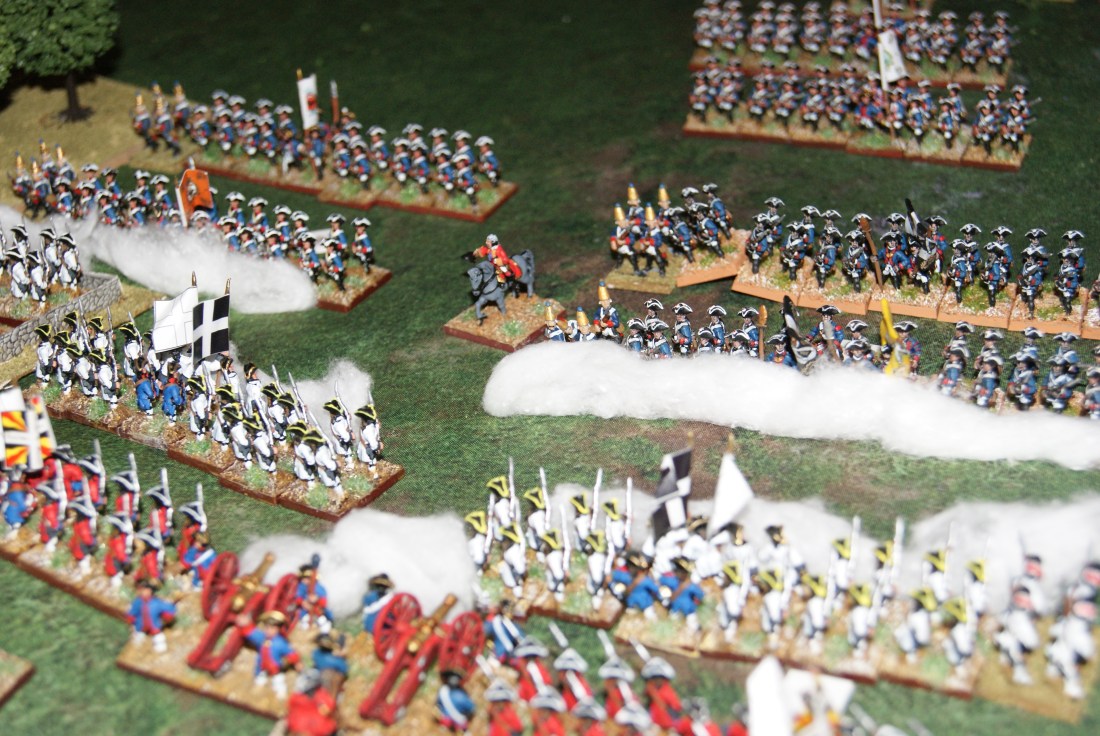
The French battle line awaits the onslaught, their backs to the edge of the world.
On the British side there is also a farmhouse with large walled field and a small copse of woods beside it that are nothing more than impediment to their moving forward, as well as a rough area of boulders and bush, ditto. So, advantage to the French.
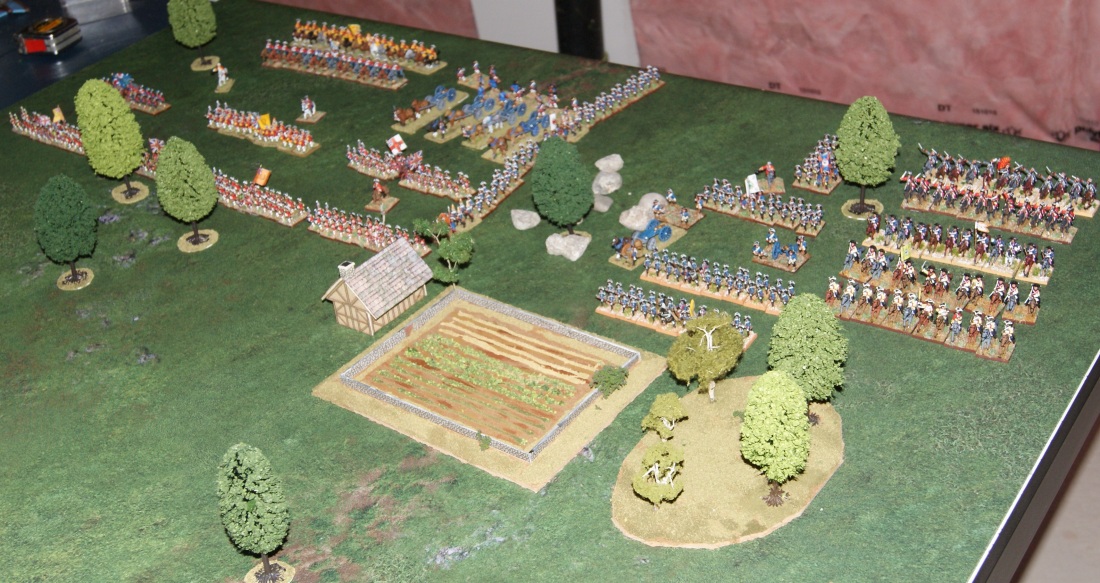
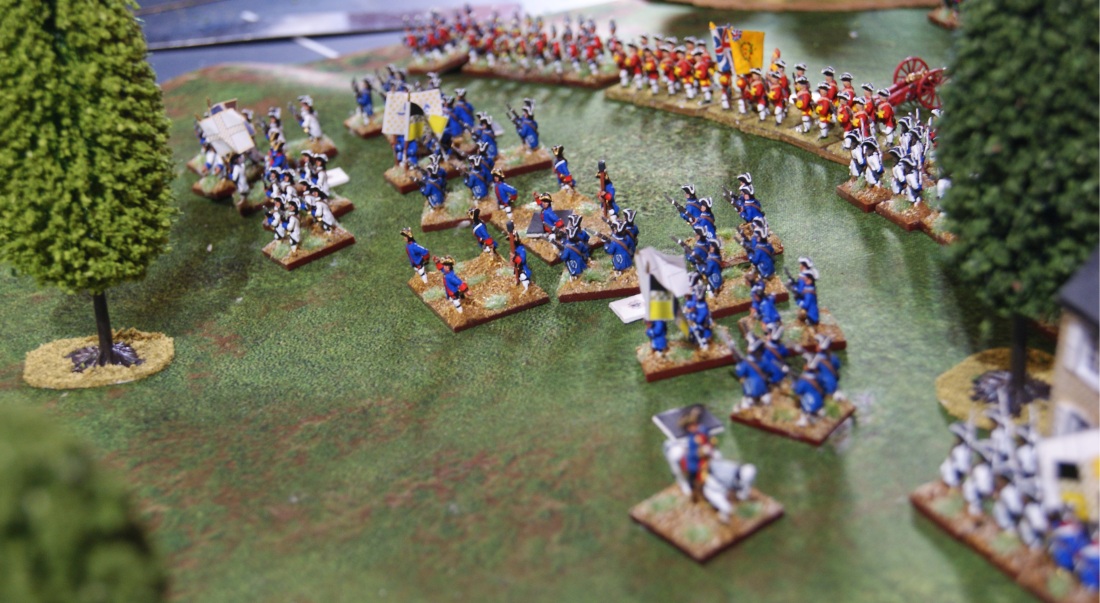
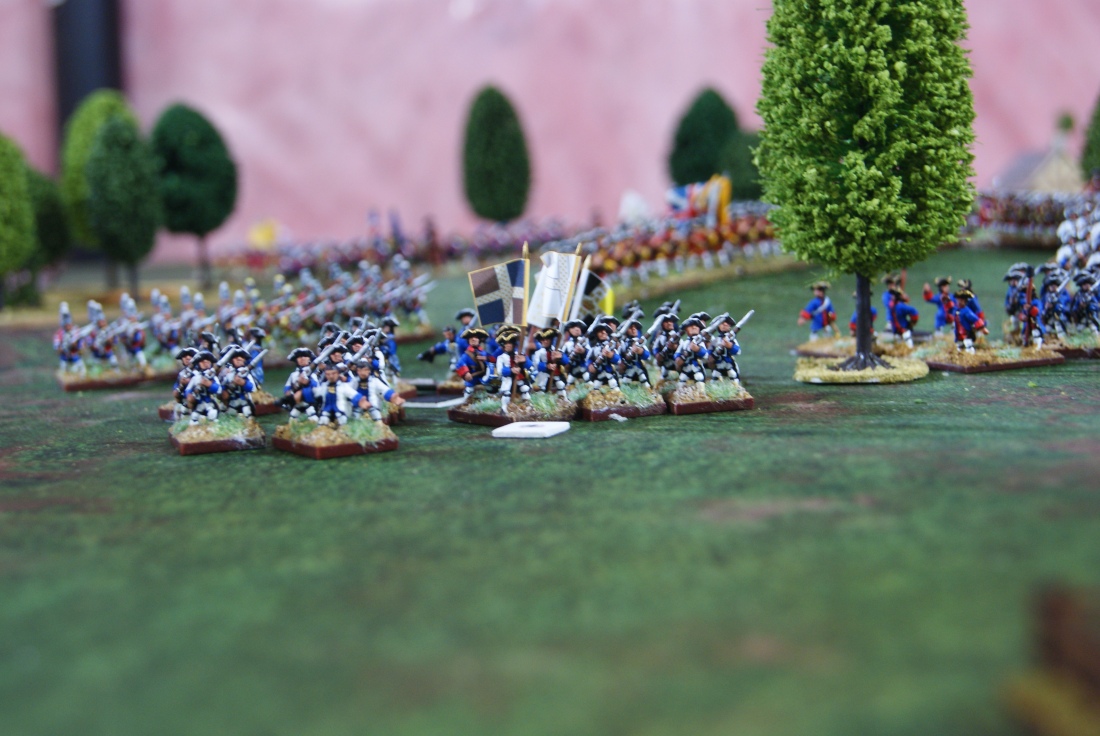
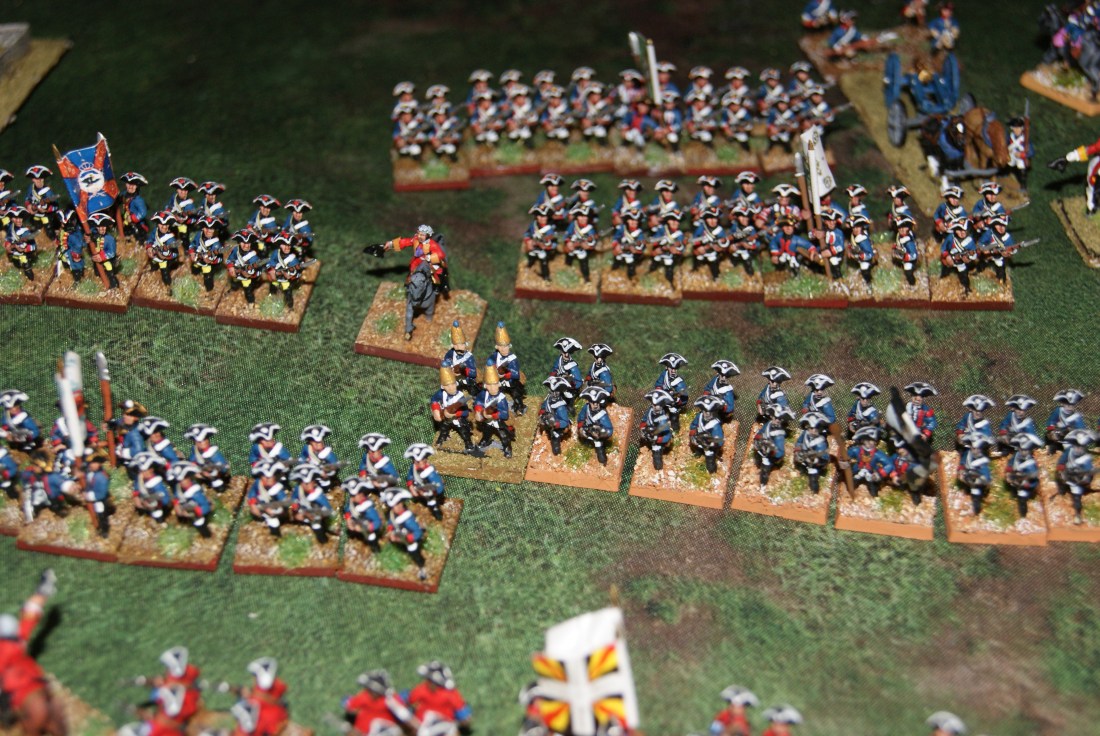
The Alliance setup, with British on the left, Prussians on the right.
The Battle of Stevenswaert
(Background music playing: Mozart’s Requiem. Anachronistic but appropriate.)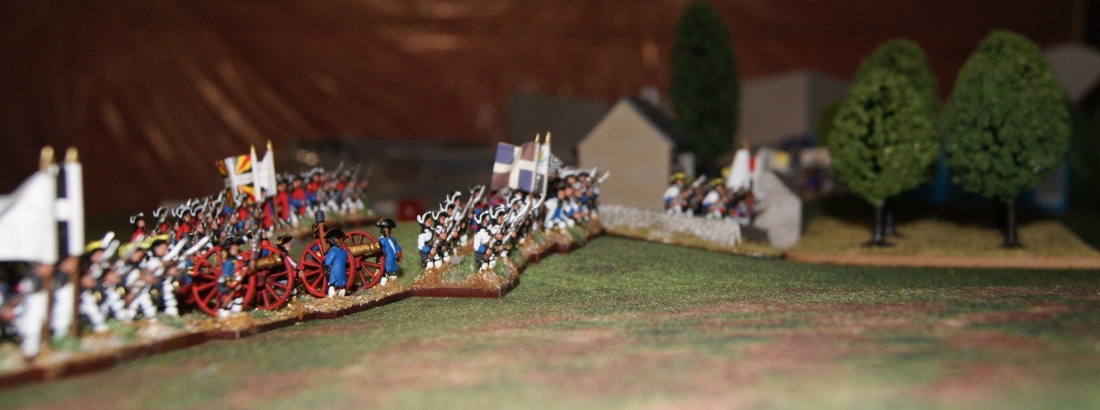
The French line, with farmhouse and orchard in the background.
The British and Prussian infantry moves forward, with the artillery still limbered trailing behind. The Prussian cavalry is massed on the left flank, as being the only area where there is room for them to deploy.
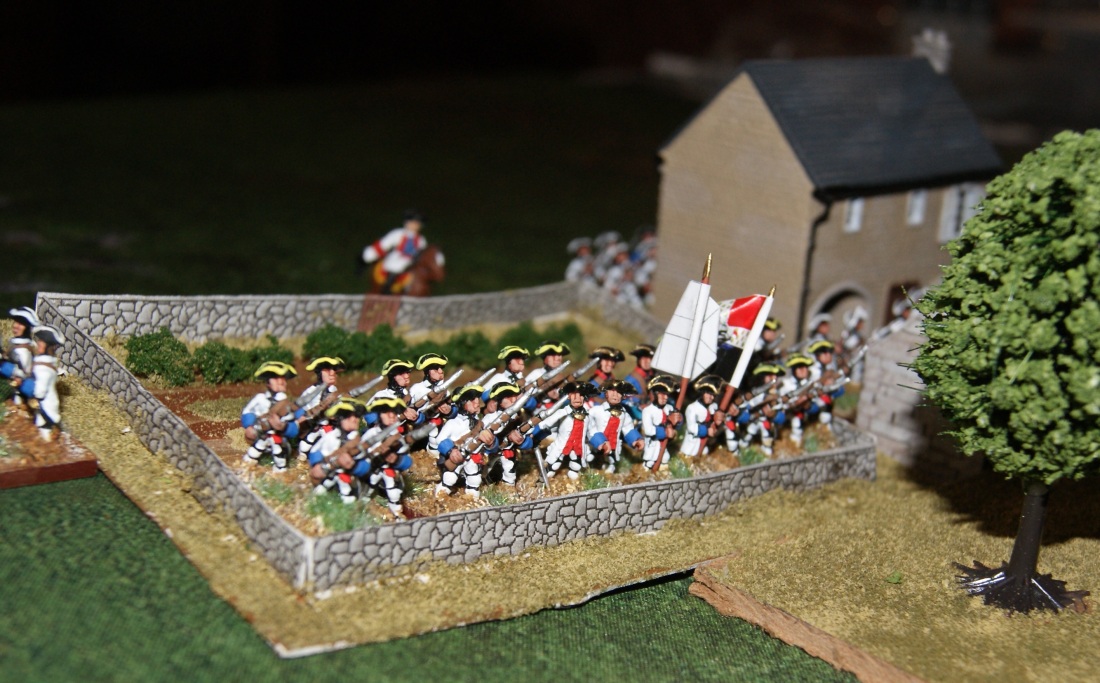
The Royal Vaisseaux Regiment, making faces at the Prussians from behind their nice safe stone wall.
10:00
The infantry moves forward, with the British heading to the right of the orchard/farm complex and the Prussians moving to the left of it. The Prussians are particularly hampered as the walled field of the farm and the copse of woods are limiting their access to the battlefield.
10:15
The French artillery begin a desultory bombardment of the advancing Alliance troops. Their cavalry – all massed on their right flank to match the Alliance arrangement – begins to edge forward to counter the Alliance horse. The British dragoons behind the right middle of the line begin to shift over to the left.
10:30
Basically a continuation of the previous actions. The converged British grenadier battalion shifts out past the right flank, heading for the woods protecting the French left.
10:45
The right flank of the British comes into range of the French left flank. Shots are fired.
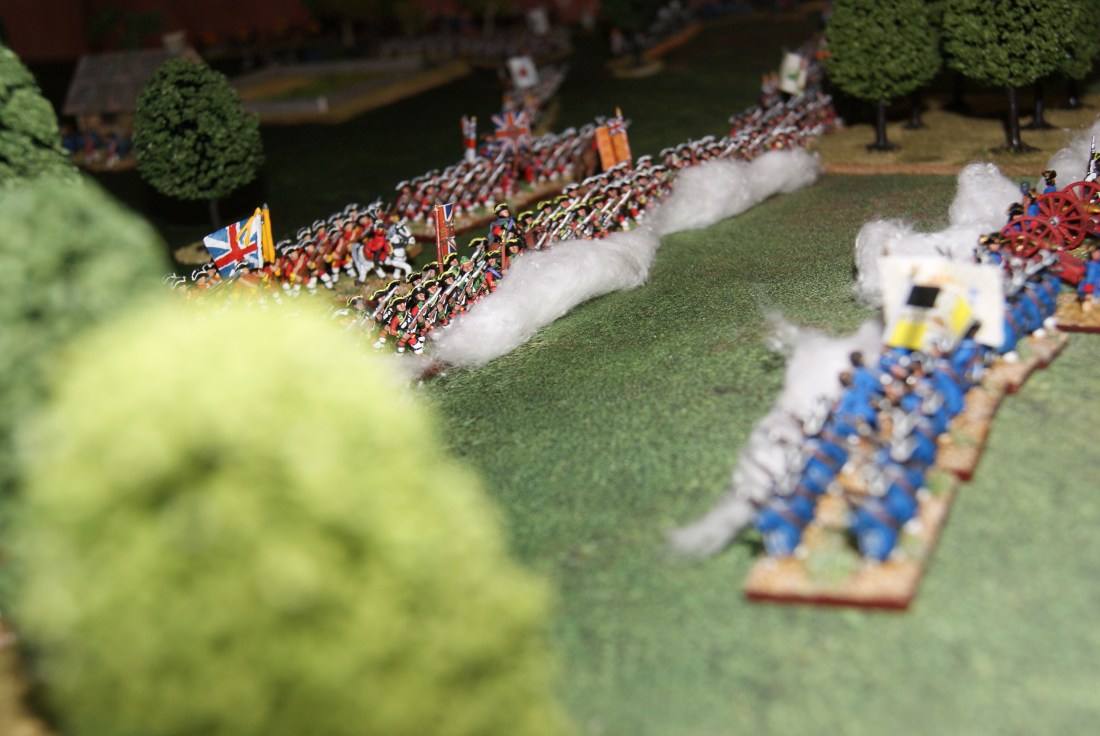
The French battle line standing up to the perfidious Albions
The British come on, two lines deep, and trade volleys with their hated enemies.
The Prussian infantry is deploying for attack after getting past the walled field of the farm. The Prussian cavalry deploys from column of squadrons to full regimental width as they get past the copse. The French cavalry begins moving out to meet them.
The British artillery, having no other clear target to shoot at, start knocking around the farmhouse.
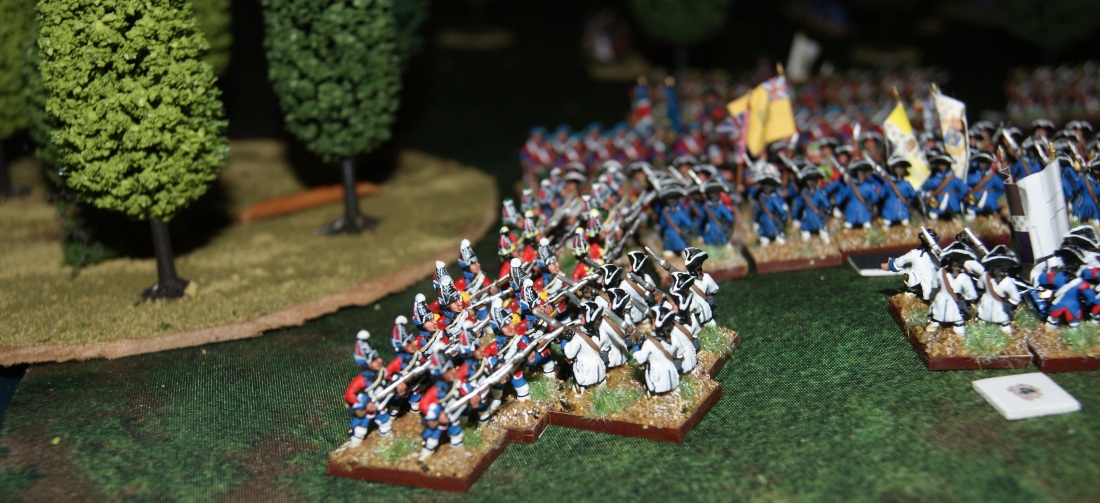
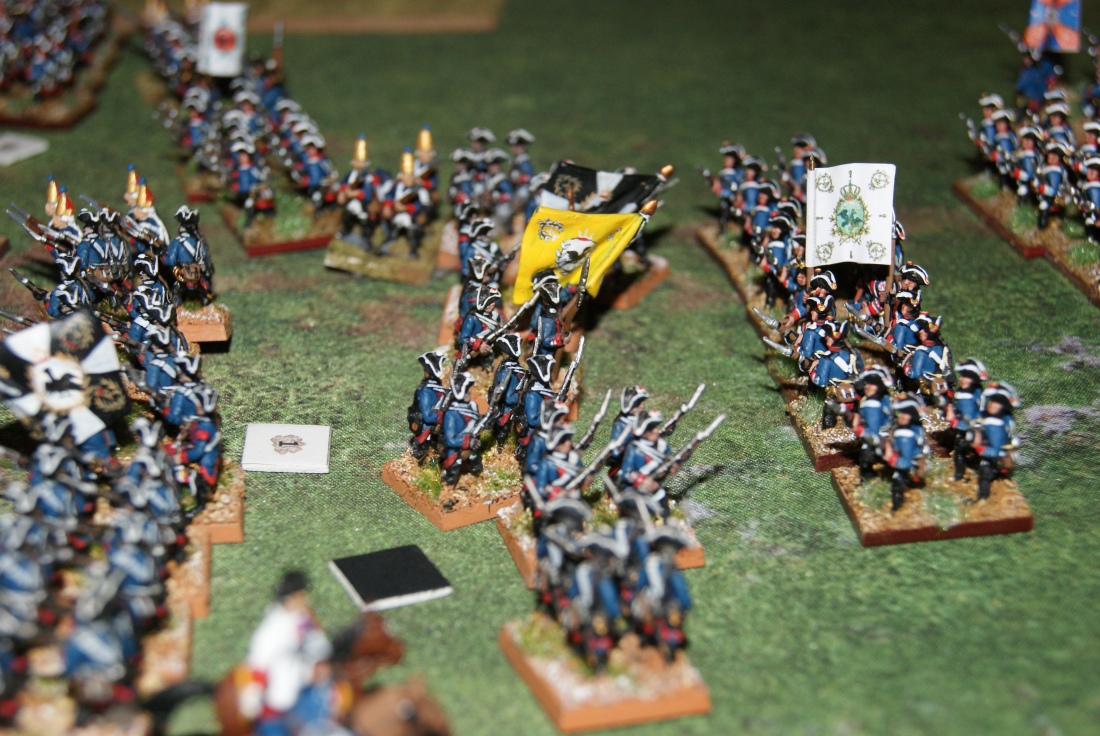
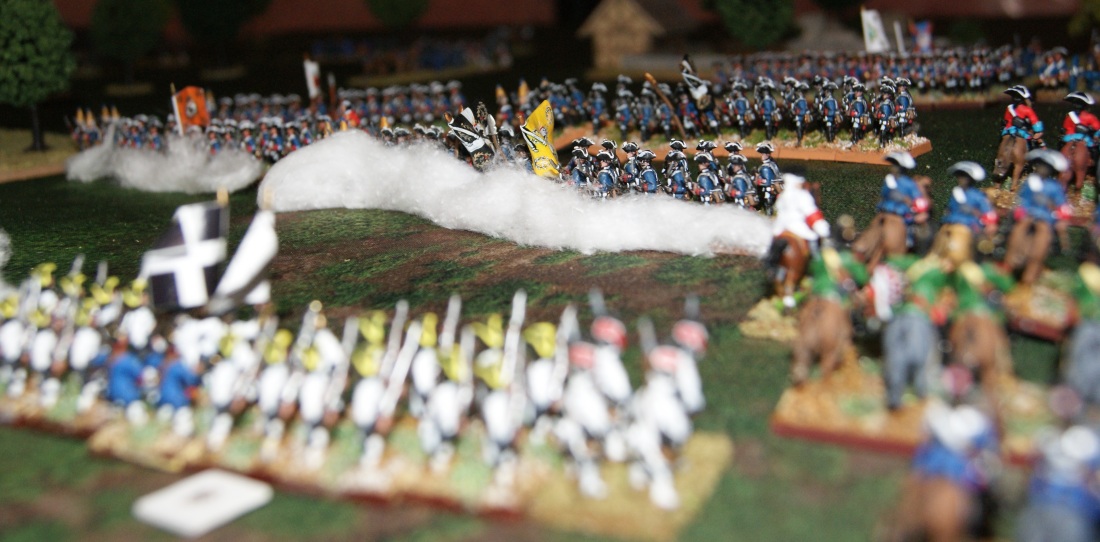 The Prussian advance as seen from the right flank of the French position.
11:00
With a great crash the first rank of both sides’ cavalry come together. The French horse does minimal damage on the Prussian cuirassiers; the Prussians in turn do maximum. The first French horse flees the engagement, disrupting the dragoons behind them.
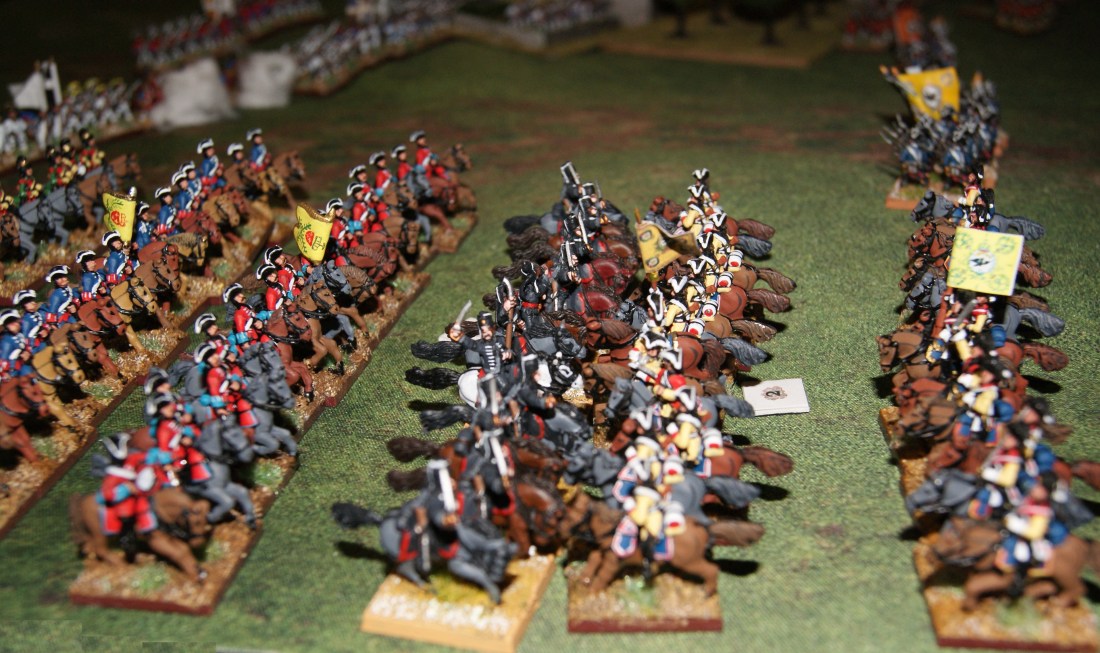
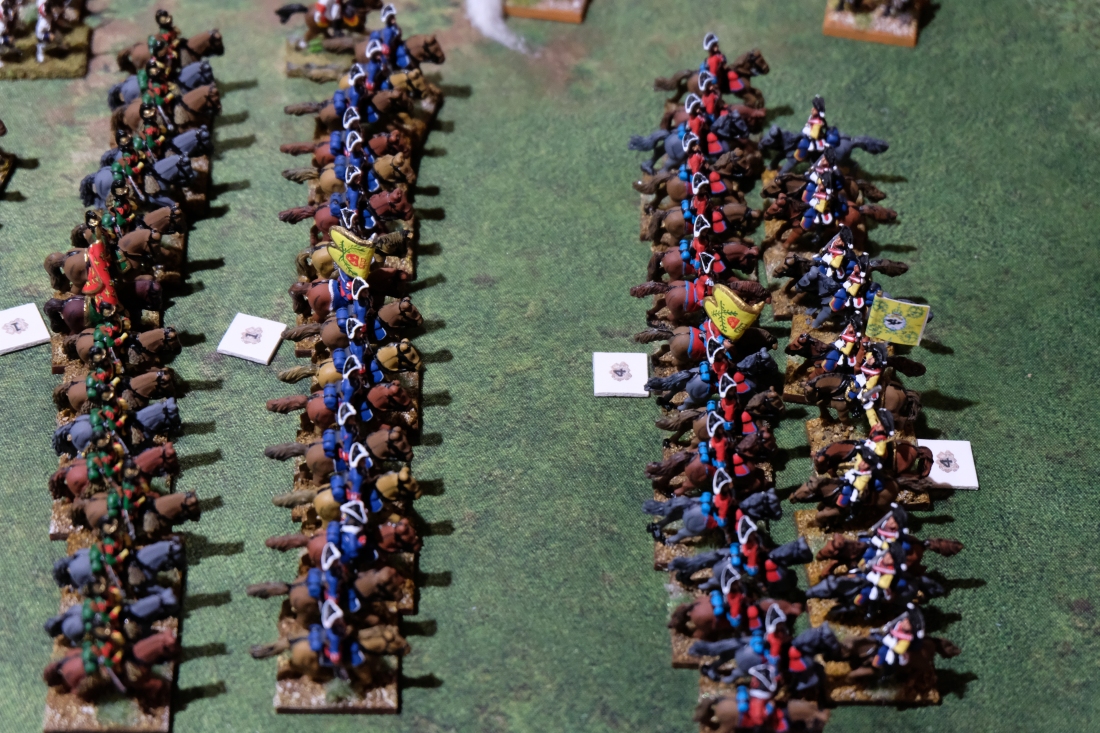
The cavalry battle begins.
On the French far left flank, the British roll forward, firing as they come, and hit … nothing. The French infantry fire in return is equally ineffective. Only the artillery does any damage.
11:15
A Prussian gun unlimbers next to the Prussian cavalry and manages to send shots down through the ranks of French cavalry regiments. The regiment just fleeing from the above melee is clobbered once again before they have a chance to draw a breath, and are last seen heading off into the sunset.
 The cavalry battle, with the infantry fighting it out in the background
Off on the opposite flank, French and British infantry exchange fire at point-blank range, but nothing is concluded. Even the two batteries, pouring cannister into the poor 44th Reg’t of Foot do not do enough punishment to send them flying. Guess they’re looking over their shoulder a little too much.
Finally the British grenadiers have filtered through the branch of the woods and are poised on the flank of the French. The smoke from the firing is such that the French don’t even know they are there yet. Volley? Or charge?
11:30
The British infantry, infuriated by the clouds of cannister and their lack of success with firing, close with the bayonet.
The British cross bayonets with the French.
Seeing this, the grenadiers, who were about to fire from the shelter of the woods, pop out and charge into the flank of the II/Gardes Lorraine and their supporting II/Reg’t Royal. The Reg’t Royal manage to turn two companies to face them. It isn’t enough.
The British grenadiers pop out of the woods into the flank of the French line.
At the rolling thunder of 4s and 5s the French right flank disintegrates, with both battalions of the Gardes Lorraines fleeing the field and the II/Reg’t Royal retreating in disorder. One battery of artillery is broken, and the other follows suit voluntarily.
11:45
The first battalion of the Regiment Royal stands alone against the surging British; and is charged by the hyped-up 14th Foot. The 44th Foot and the grenadier battalion is moving past their open left flank in pursuit of the fleeing French.
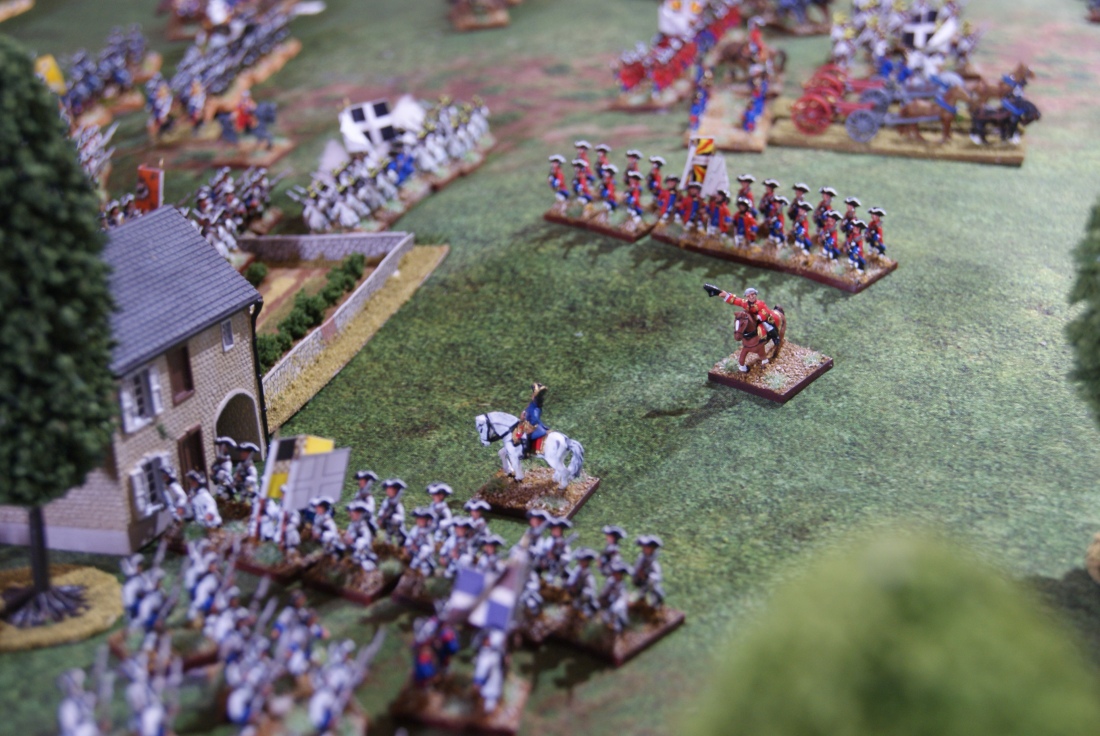
The French left flank broken. Half hidden by the tree on the right, the I/Reg’t Royal tries to stem the tide.
The left flank Brigade commander, de Grimoir, goes looking for reinforcements from the right flank. Unfortunately there is no help for him here, as they and the cavalry are being hard pressed.
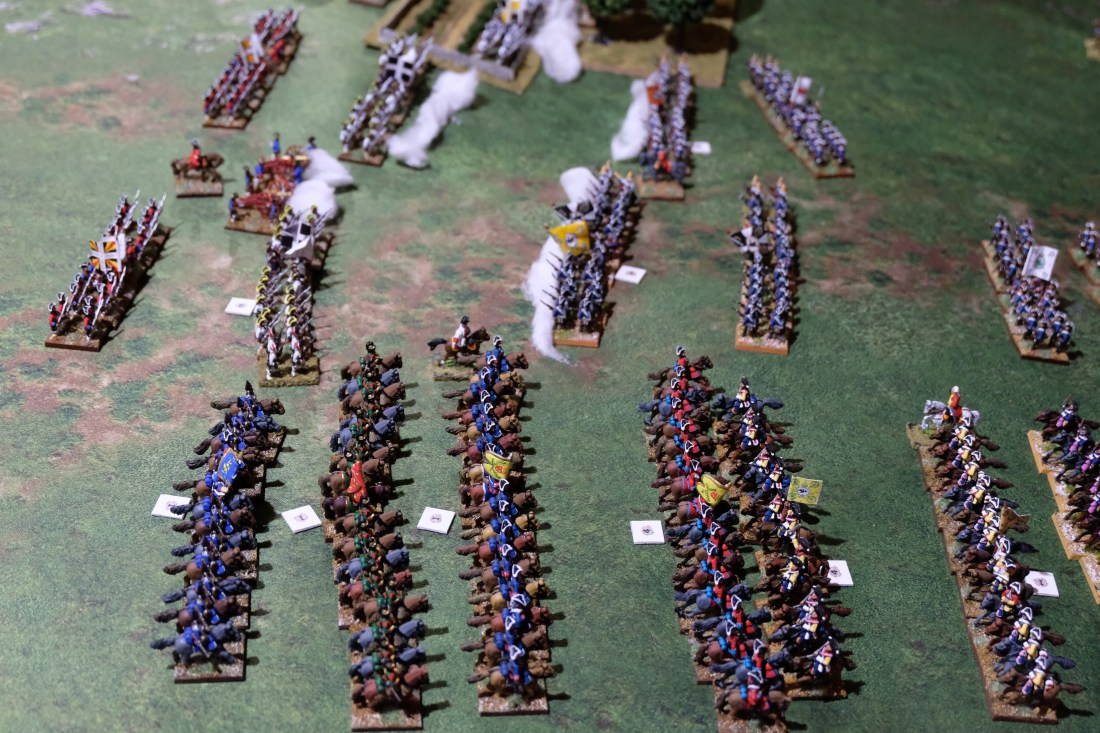
The cavalry battle continues, with the outnumbered French getting the worst of it.
 The Prussians press the attack.
12:00
II/Diesbach and Royal Allemande cavalry are pulled from the French right flank to try to succor the left. II/Royal Barrois evacuates the farmhouse to set up the beginning of a defensive line at right angles to previous. The two French batteries on the right flank are limbered up and pulled out – just at the point where the initial Prussian attack is driven back.
 The Prussian front line (facing right) in disorder as it falls back through its comrade battalions.
To the right, II/Royal Barrois forming the beginnings of a new line, with broken French units streaming past to the rear.
12:15
The L-shaped French line is under pressure all around, with infantry pressing forward steadily and a huge horde of cavalry swinging toward their right flank with nothing much to stop them.
In the upper right, the French right flank infantry awaiting the renewed Prussian assault. In the center back II/Diesbach (red coats) is coming over to help II/Royal Barrois, barely holding the line against the British onslaught.
II/Royal Barrois is in particular trouble, with two battalions closing in on its front while another battalion occupied the farmhouse it just relinquished and is firing into its flank.
(Note: It would probably be well before this point that, if this was a game between two opponents, one of them would be willing to admit, “Well, it looks as if I am losing. What say we call it a night?” After all, when you know you are losing, who wants to fight it out to the bitter end?
However, this is a solo game. I (with the help of the dice) am commanding the French. I’m also commanding the Allies, so no matter what happens I’m going to be a winner … and a loser. It’s almost more important to me that this gets played out properly than that blame and praise get assessed. Besides, there’s still curiosity in me to see what happens.
This is also a campaign game. What happens after the French position crumbles is very important to the continuation of the strategic part of the campaign. Do the remaining French units get away and continue to fight another day? Can the Allies surround them and force them to surrender? The outcome of this will indicate whether or not the French have an army with which they can continue to resist the Allies’ advance for the rest of the campaign year.)
12:30
The remaining French units begin falling back. On the two flanks, the two battalions of the Diesbach regiment are doing the main share of the rearguard work, with a cavalry regiment on each flank.
12:45
The pocket begins to form. The Regiment Diesbach in their red coats on either flank, with cavalry support, are holding back the British and Prussians while two French battalions are seen moving to the rear.
The right flank is now in trouble, as the Schomberg Dragoons and I/Diesbach are both sent reeling in disarray. All is not – quite – lost as the Prussian dragoon regiment also recoils violently, disrupting the piles of friendly cavalry coming up behind them in support.
French retiring, with Diesbach holding the flanks. In the upper left can be seen the remnants of two French battalions fleeing the action.
13:00
Royal Allemande on the left flank charges into the battalion of British grenadiers, sending them reeling. The few French battalions holding the line take more punishment as they withdraw slowly backward.
A surprise! French II btn Royal Regiment, having regained their composure, appear on the flank and rear of the British advance. Some Hanoverian battalions coming up from reserve are turned to stop this new threat.

II/Regiment Royal coming in behind the British, with Hanoverian Scheither turning to face them.
13:15
The British musketry finally breaks the spirit of both II/Diesbach and Royal Allemande, once again ruining the French left flank. However the British brigade commander orders a halt until he finds out exactly what this new flank attack is. Surely no sane commander would send a single battalion into action against the bulk of the right flank reserve. There must be more! It’s a trap! The local brigade commander sends an aide demanding reinforcements.
The Prussians, however, come on as if they are unstoppable.
The Prussian infantry advance. Vorwarts!
13:30
Marlborough issues halt orders to all concerned as he dashes off to discover what the problem is on his right flank. The French take advantage of this to back-pedal furiously.
Marlborough arrives on his right flank to find … nothing. A scattering of French infantry retiring in the distance. He sacks the brigade commander on the spot. Said brigade commander will remain nameless here to avoid shame to his family. (Cover-up!)
13:45
As the Allied army rumbles to a halt in indecision, the remnants of the French Army makes its escape. The outer trenches of the siege of Stevenswaert are not far away, and there the previously broken regiments are rallying. Troops are being drawn off the actual siege front line to bolster the French in the face of the impending relief force. Once the French pull themselves together, the defensive works will be exceedingly difficult to assault.
With the battle over a final reckoning is required. Out of 12 French battalions that started the game, 5 remained. Two out of four batteries decamped as well, and of the 5 cavalry regiments at the beginning, only one stuck it out. So at a quick calculation they end up with three strength points, plus the three strength points that were besieging Stevenswaert gives them a total of 6.
The Allies, on the other hand, lost a meager total of 3 battalions and one cavalry regiment, so they remain at 7 strength points.
Final result: the siege of is broken and the French are no longer pinned down there.
(At this point I would like to indicate that I will no longer be using the map and rules from Frederick the Great. I have a new, more detailed map of the Low Countries that I shall be using. Movement will be on a daily basis. In most cases a day-by-day account will be rather boring, so I’ll try to just hit you with the highlights.)
